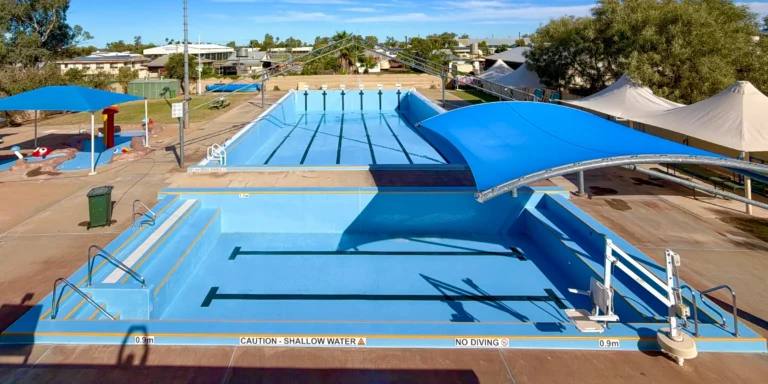
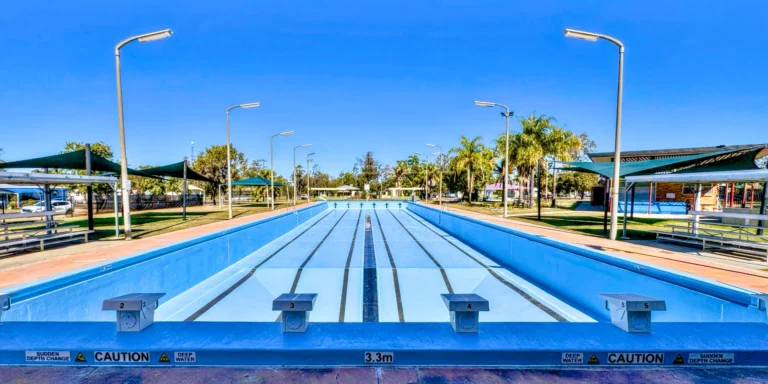
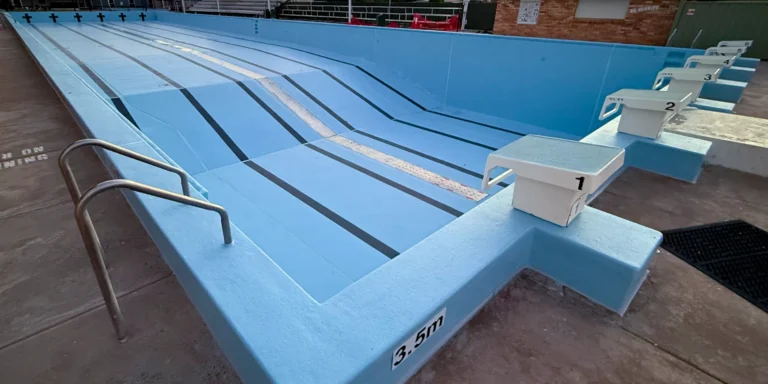
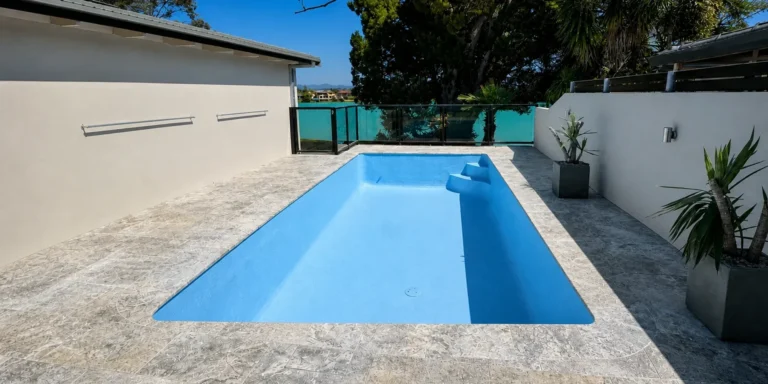
In March 2023, Fibreglaze restored the 10 x 5 m fibreglass-lined concrete pool in Edenville, New South Wales. The pool presented with delamination and deteriorated tiling, requiring careful assessment and preparation before resurfacing.
The delaminated lining and deteriorated tiled areas were repaired and prepared, and surface irregularities were corrected with resin-based screeding and filler. A new structural fibreglass laminate was installed, and the pool was completed in Sapphire Blue Speckle using the Fibreglaze Enduratec finishing system.
These photographs follow the work from the pool’s original condition through preparation and repair to the completed finish.
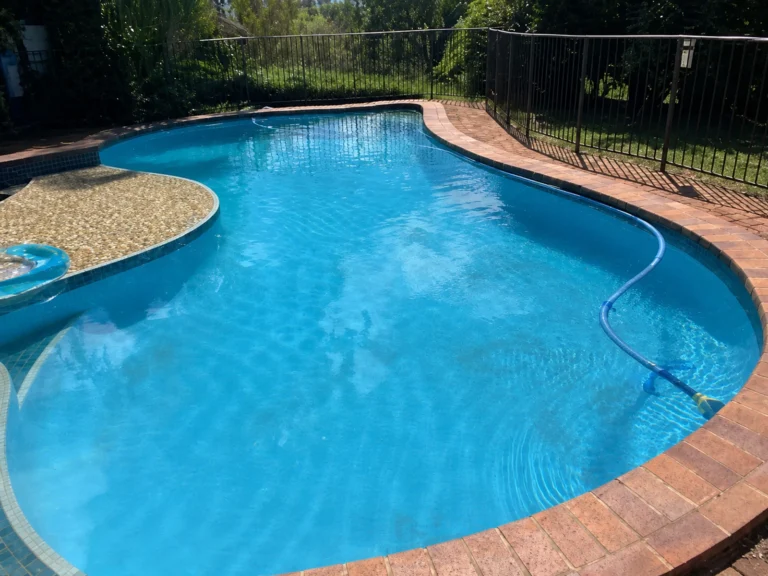
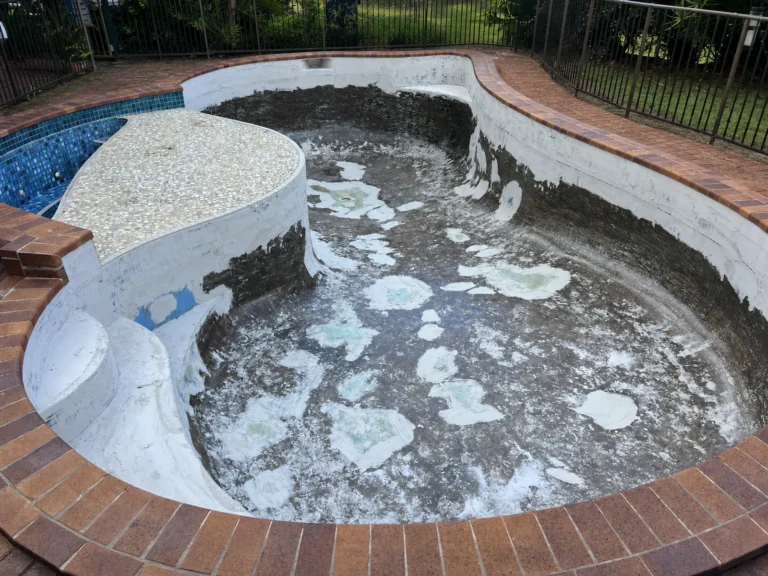
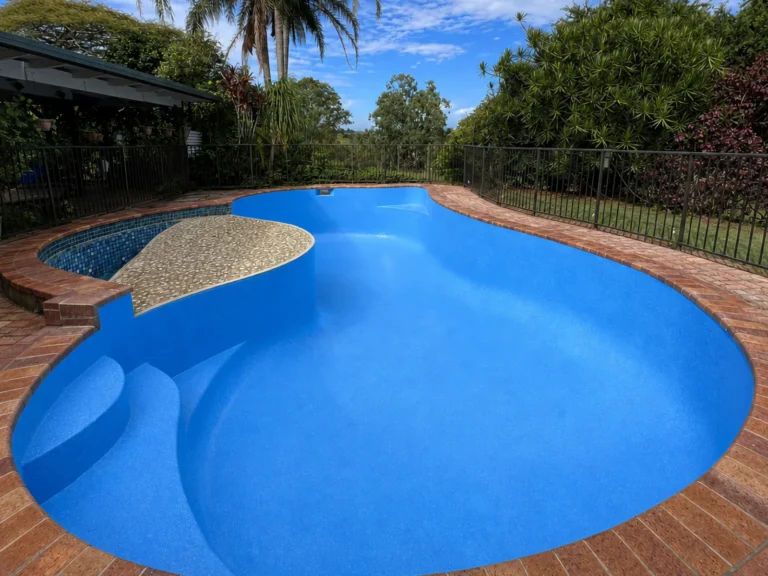
These were the main pool conditions recorded for this project. Select an issue to learn more about its common signs, possible causes and repair considerations.
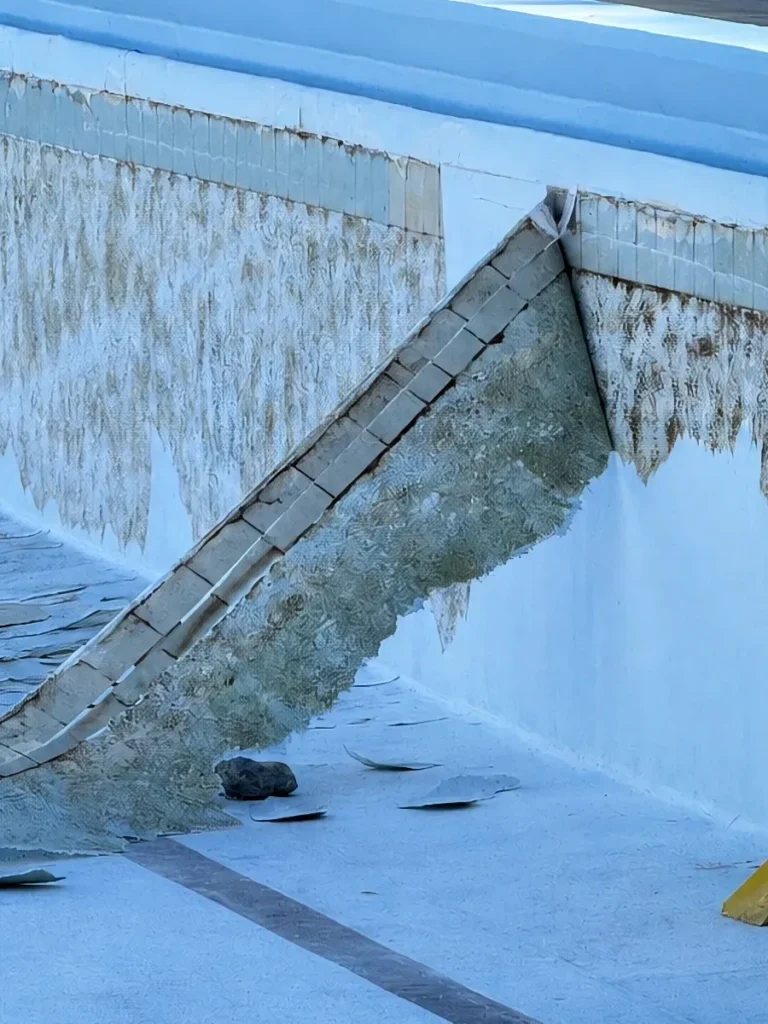
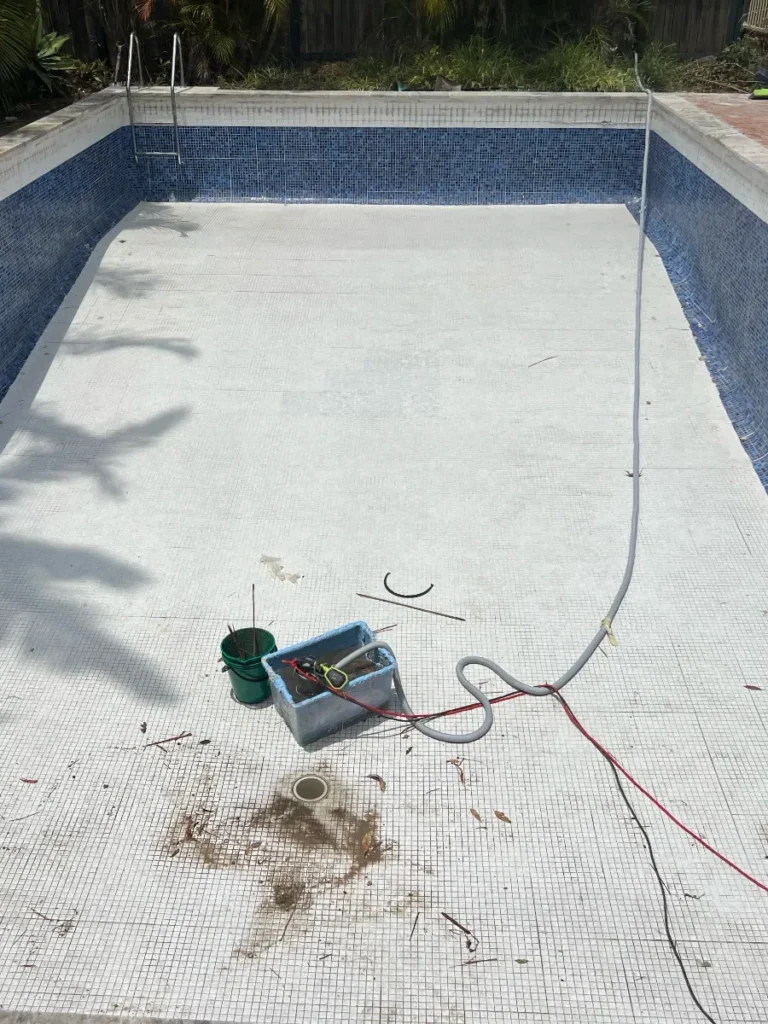
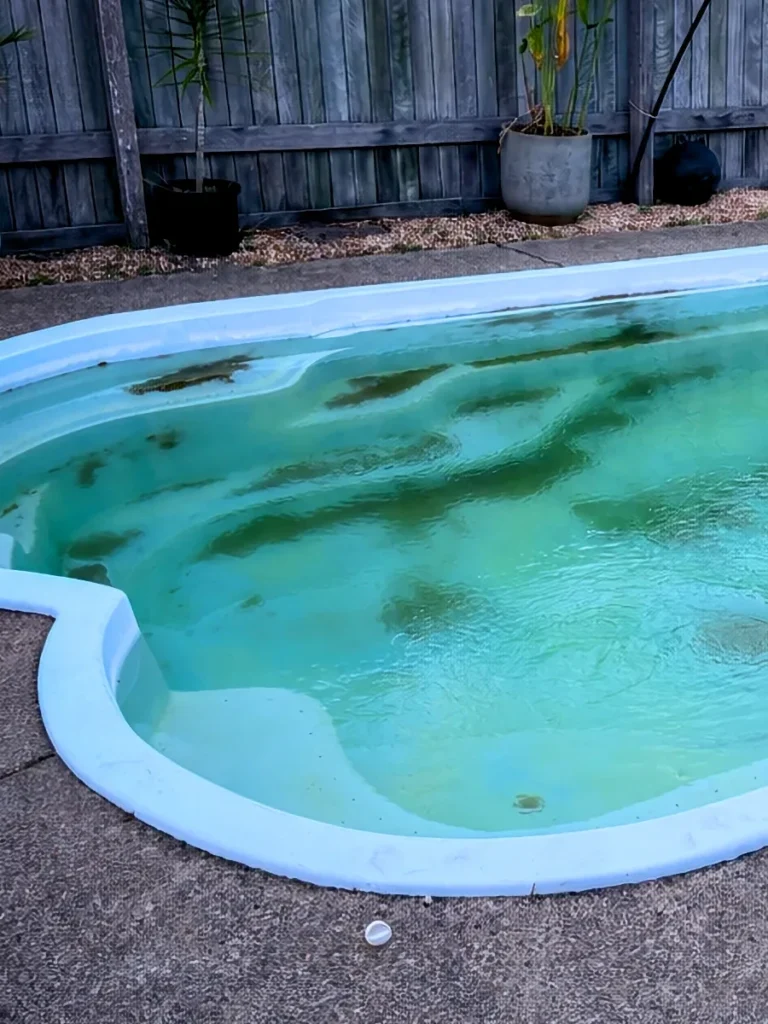
Additional views of the preparation, repair work and completed finish.
I am very happy with the service I received from Fibreglaze, Sarah was very helpful in the office following up on any inquiry and providing prompt advice. The guys that re-glassed the pool done a great job, they worked in very hot conditions but were always friendly and approachable in providing advice. Overall I am very happy with the service I received and the pool looks great.
Answers to common questions about the pool conditions and restoration work shown in this project.
Delamination may appear as a raised sheet or bubble, a soft or flexible area, flaking around an edge, or a section that sounds hollow when lightly tapped. Water may be released when a failed area is opened. The visible boundary can be smaller than the separation underneath, so tapping alone cannot confirm the full extent. A systematic inspection is needed to map unstable areas and determine whether the separation is limited to the surface or extends into the original laminate.
These are common signs that the existing gelcoat is oxidising or wearing away. If the surface is faded, difficult to clean, rough underfoot or no longer holding its colour, resurfacing will restore a smooth, fresh-looking finish.
Tiles and grout can deteriorate because of inadequate original bonding, poor preparation, water entering behind the finish, unsuitable grout, aggressive water chemistry, shell movement or missing movement allowance. A tile face may look sound even when the adhesive behind it has failed. Repeated grout loss, cracks and hollow-sounding areas suggest that more than the visible joint may be affected. The cause should be identified before tiles are reset so the same movement or moisture problem does not continue beneath the repair.
Oxidised gelcoat commonly looks faded, patchy or chalky and may leave a powdery residue when rubbed. Calcium scale is a mineral deposit added to the surface, so it is more likely to feel raised, crusted or sandpaper-like, particularly around the waterline and high-evaporation areas. Staining and scale can also sit over a worn finish, making visual diagnosis difficult. Check the water balance and have the surface assessed before using aggressive chemicals, because a treatment suited to scale can further damage ageing gelcoat.
A small, clearly defined delaminated area may be suitable for local rebuilding if the surrounding laminate is dry, stable and firmly bonded. Multiple hollow areas, widespread lifting or separation associated with movement usually require more extensive removal and a continuous resurfacing system. The decision is made progressively: unstable material is removed until sound laminate is reached, then the depth and spread of the defect can be assessed. Covering hollow material without removing it is not a durable repair.
A local repair may be suitable when only a few tiles are loose and the surrounding tiles, grout, substrate and waterproofing remain sound. The failed tiles and old adhesive need to be removed back to a stable base before pool-suitable materials are used. If nearby tiles sound hollow, grout loss is widespread or cracks continue through the area, replacing isolated tiles is likely to be temporary. A broader inspection should establish the boundary of the bond failure before the repair scope is chosen.
Send us a few photos and our team can help identify the likely issue and the most suitable next step.