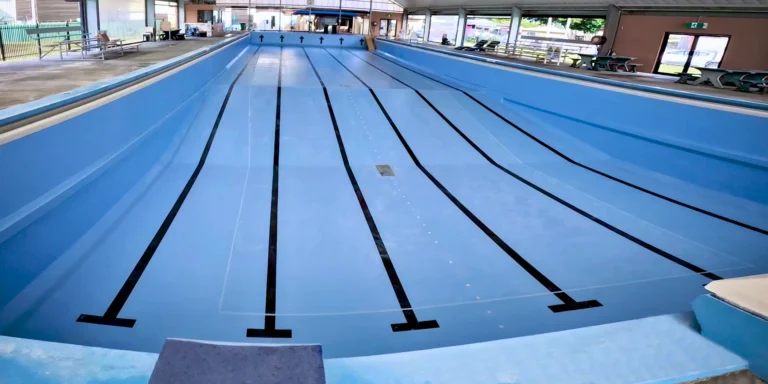
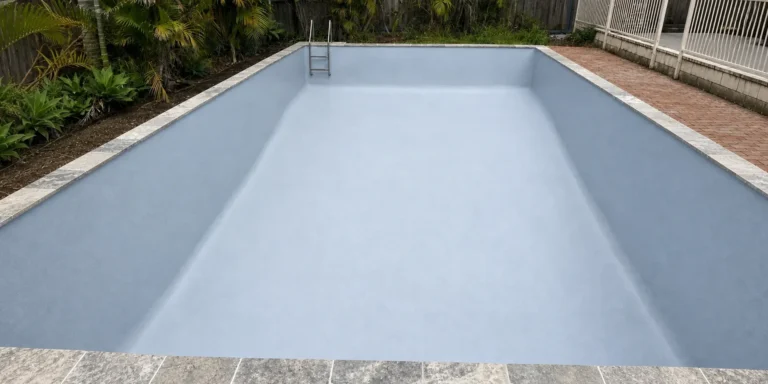
Tiled swimming pools can develop loose or hollow tiles, failing grout, cracked finishes and moisture movement behind the tiled surface. The full extent of bond failure is not always visible while the pool is filled, so the tiling and substrate need to be assessed before the conversion method is confirmed.
Fibreglaze removes loose or unsound tiles, grout, adhesive and bedding material. Firmly bonded areas may be mechanically prepared and levelled where suitable, while cracks, penetrations and movement joints are treated separately. The prepared interior then receives a continuous ENDURATEC reinforced lining and selected AquaGuard colour finish, creating a smooth surface without relying on repeated tile and grout repairs.
An inspection can determine whether local repairs are suitable or whether the pool would benefit from complete resurfacing.
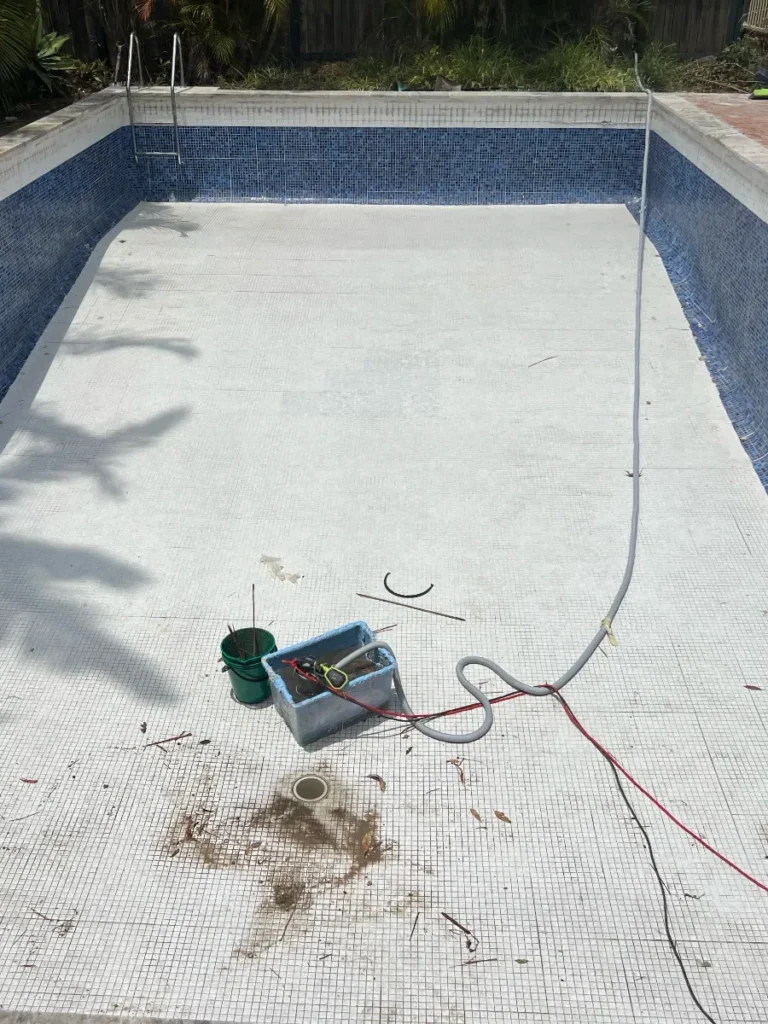
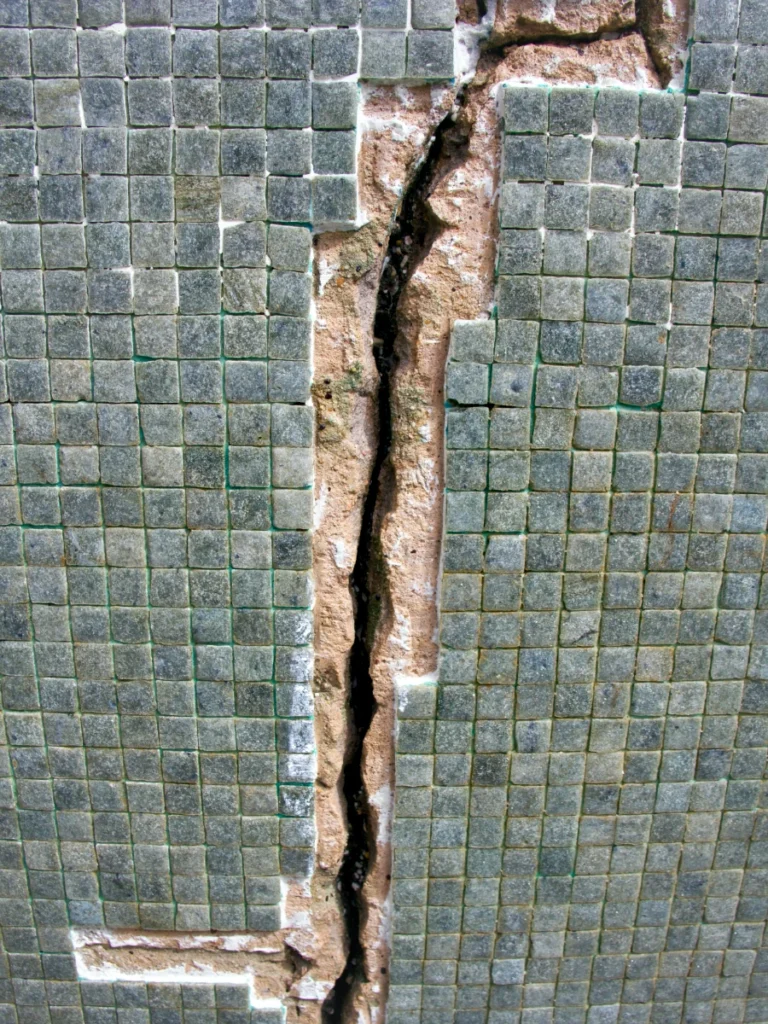
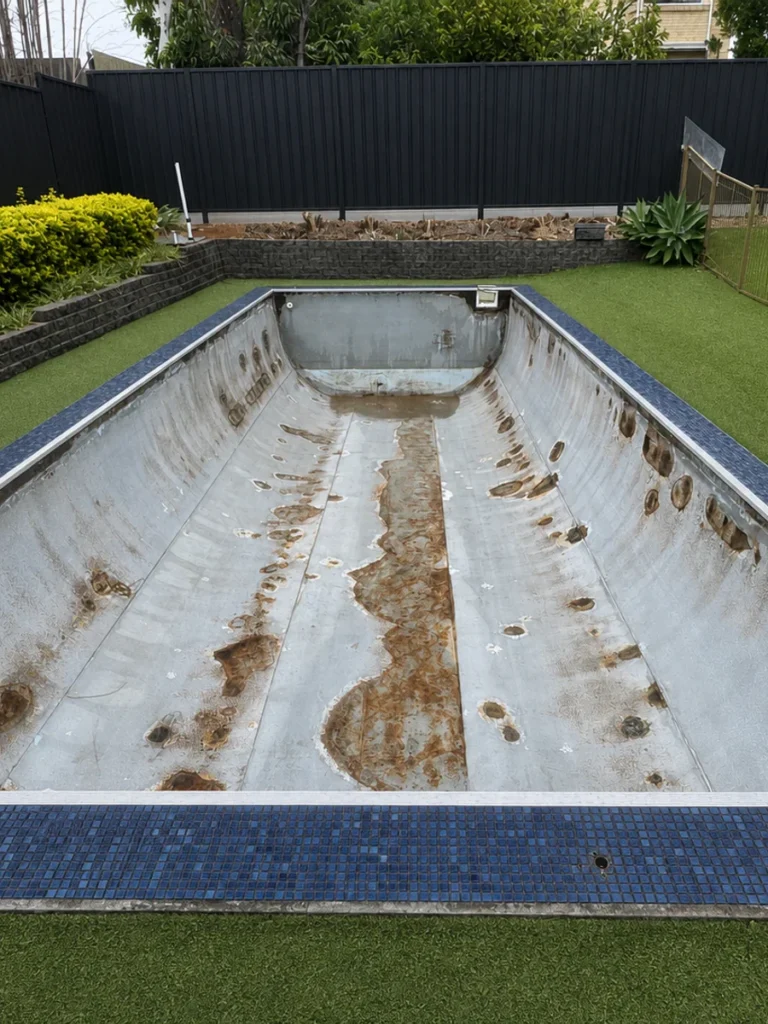
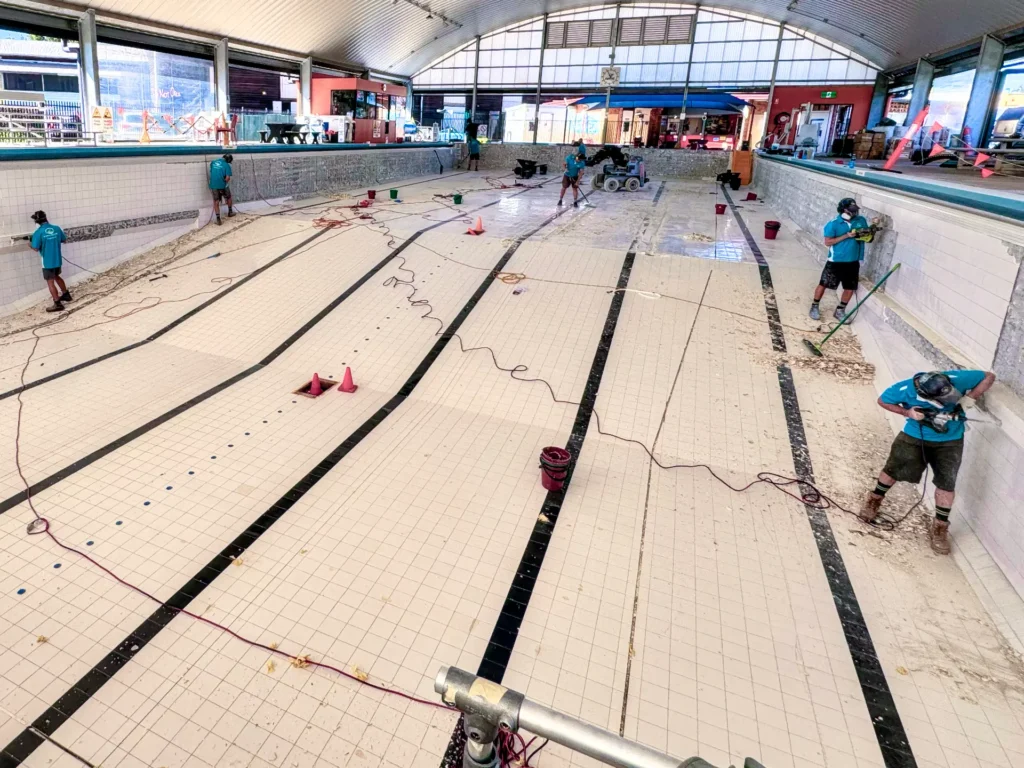
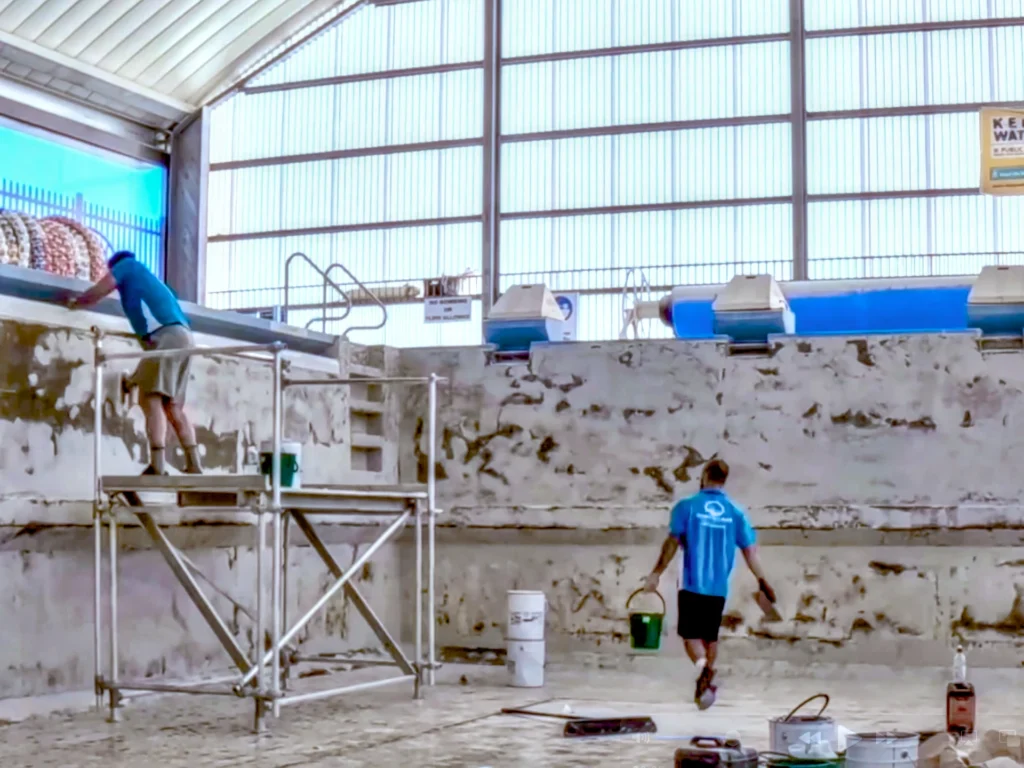
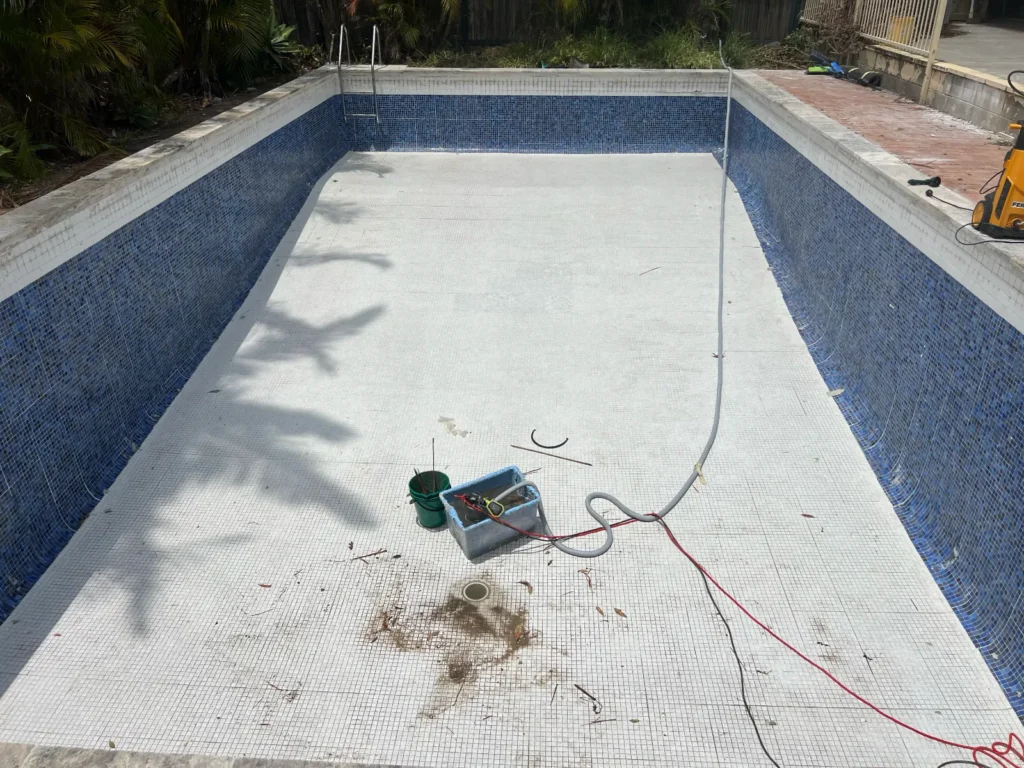
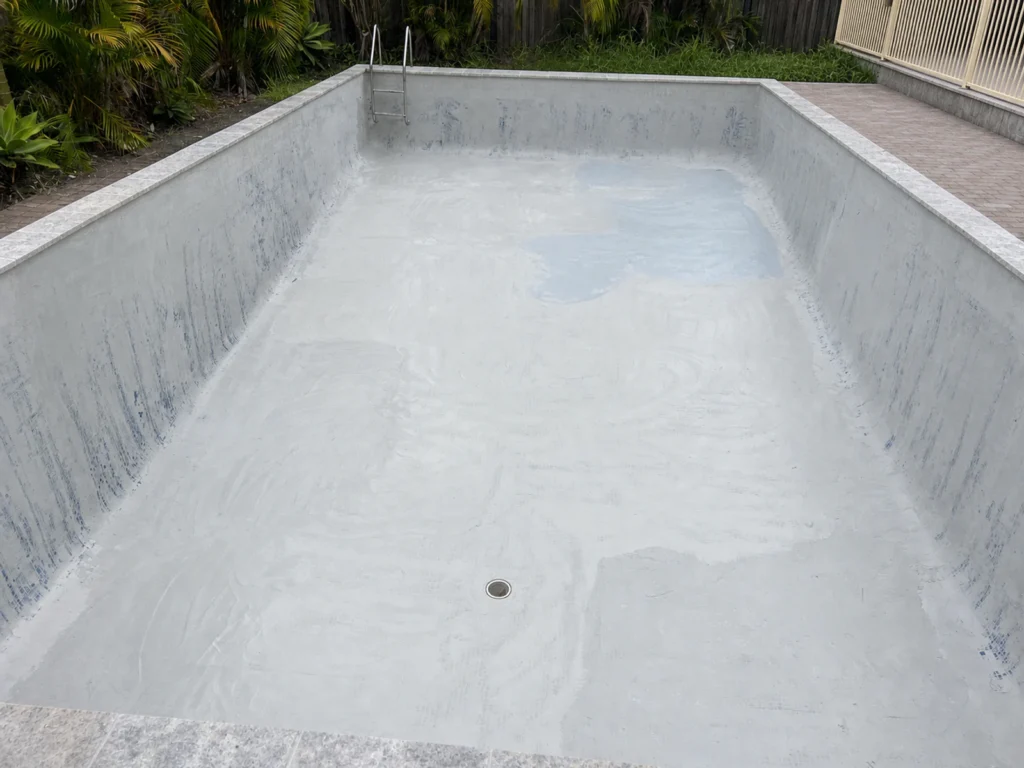
Every pool is assessed individually, but the work generally follows five stages—from confirming the scope and preparing the existing surface to installing the reinforced lining and applying the selected finish.
We review the pool details and photographs and arrange a site inspection where required. Tile condition, grout, bedding, cracks, penetrations and movement joints are assessed. Once the pool is empty, tap-testing and closer inspection can confirm which areas are sound and which must be removed or repaired.
Loose, hollow or unsound tiles, grout, adhesive and bedding are removed. Where suitable, firmly bonded tiled areas are cleaned and mechanically prepared. This exposes substrate defects and defines grout lines, removed sections, penetrations and transitions that must be treated before the new lining is installed.
Cracks and exposed substrate defects are treated according to their condition and extent. Removed tile areas, grout lines and transitions between retained and exposed surfaces are repaired and levelled to create a continuous, stable profile for the reinforced lining.
A reinforced fibreglass lining is applied across the prepared pool interior to form one continuous system over the treated tiled and exposed areas. Additional reinforcement is incorporated around repairs, penetrations and transitions where required, creating an even foundation for the selected finish.
Two UV-stabilised AquaGuard top coats are applied in the selected colour, followed by the chosen speckle finish. Once cured, the converted interior is inspected and applicable fittings are refitted. Guidance is then provided for refilling, initial water balancing and ongoing care of the seamless surface.
Tell us what you can see and what you would like to improve. Details about loose or hollow tiles, deteriorating grout, cracks, leaks and previous repairs help us prepare for the first review; which areas can remain is confirmed after the pool is emptied and assessed.

Tiled pool conversion enquiry
In suitable cases, firmly bonded tiles can be mechanically prepared and levelled as part of a fibreglass conversion. Loose, hollow or unstable tiles and grout must be removed, and deeper losses repaired, so the new lining is supported by a sound base. Structural cracks, leaking penetrations and movement joints need separate assessment rather than simply being covered. Whether partial retention is appropriate depends on a systematic bond survey of the tiled surface and the condition of the substrate beneath it.
Pool size is only one part of the price. The existing surface, access, pool shape, fittings and amount of preparation can have a greater effect. Costs can increase where failed paint, tiles or a vinyl liner must be removed, or where cracks, osmosis, hollow areas, corrosion, movement or an uneven substrate need repair. A useful quotation should state what removal, preparation, repairs, lining, finish and clean-up are included so different proposals can be compared on the same scope.
A local repair may be suitable when only a few tiles are loose and the surrounding tiles, grout, substrate and waterproofing remain sound. The failed tiles and old adhesive need to be removed back to a stable base before pool-suitable materials are used. If nearby tiles sound hollow, grout loss is widespread or cracks continue through the area, replacing isolated tiles is likely to be temporary. A broader inspection should establish the boundary of the bond failure before the repair scope is chosen.
Tiles and grout can deteriorate because of inadequate original bonding, poor preparation, water entering behind the finish, unsuitable grout, aggressive water chemistry, shell movement or missing movement allowance. A tile face may look sound even when the adhesive behind it has failed. Repeated grout loss, cracks and hollow-sounding areas suggest that more than the visible joint may be affected. The cause should be identified before tiles are reset so the same movement or moisture problem does not continue beneath the repair.
Send us a few photos and our team can help identify the likely issue and the most suitable next step.