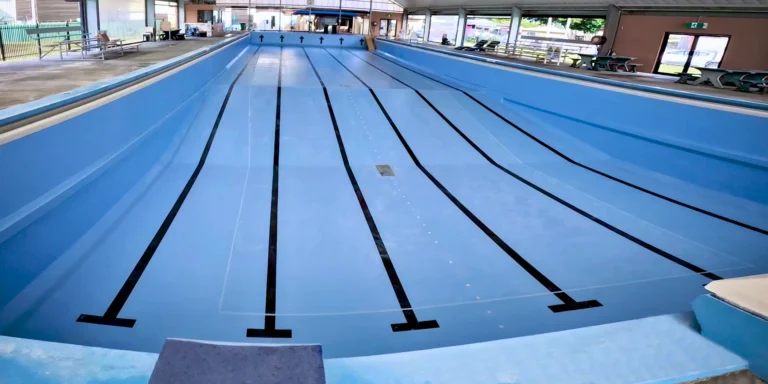
Leaking Pool

Leaking Pool

Unexpected water loss can come from plumbing, fittings, cracks, tile joints, liners or the pool shell. Confirming the source before repair prevents resurfacing from being used where a plumbing or site solution is required.
Leaks

What this pool problem can look like

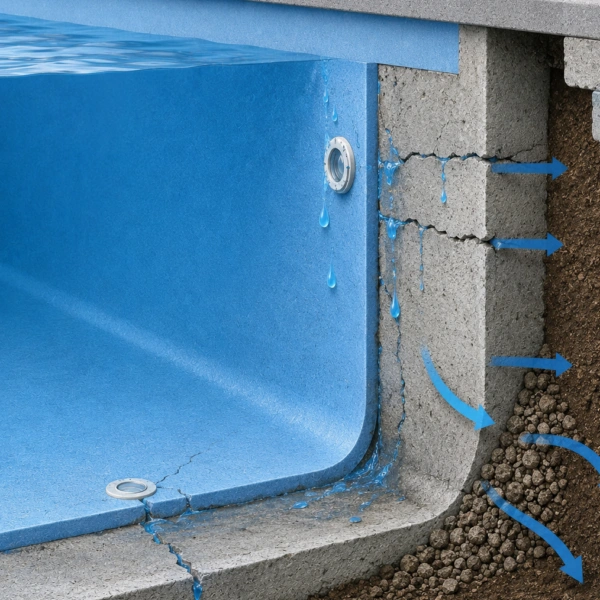
A leaking pool may need frequent topping up, use more chemicals, develop damp areas nearby or show cracking and movement around fittings. The source can be remote from where water becomes visible, particularly when it travels behind tiles or through ground.

Resurfacing should be presented as the solution only after plumbing and shell causes are distinguished. A fibreglass lining can seal confirmed cracks, porous surfaces and defective interior details, but it will not repair a leaking underground pipe or equipment fault.

What we assess

The extent and location of the visible problem

The condition of the surrounding pool surface

Likely causes and the most suitable repair approach

CAUSE AND REPAIR

Why this happens and what repair involves

Why does this happen?

Pool water can escape through plumbing lines, pumps and filters, skimmer boxes, lights, fittings, failed sealants, cracked concrete, damaged fibreglass or torn vinyl liners. Water also leaves naturally through evaporation, splash-out and backwashing, so a falling level does not automatically mean the interior is leaking.

The loss pattern can provide clues. A leak that changes with pump operation may relate to circulation; loss that stops at a fitting can indicate a penetration. Cracks, loose tiles, damp ground and unexplained chemical demand can justify further testing.

Can this be repaired?

Fibreglaze begins with inspection and, where required, leak testing or coordination with a specialist. Confirmed shell cracks, failed lining, penetrations and surface defects are exposed and repaired. Vinyl liners are removed for conversion, and unstable tiled or coated areas are prepared back to sound material.

The repaired shell is incorporated into a continuous Enduratec fibreglass lining, avoiding scattered patches where the interior is broadly deteriorated. Plumbing, equipment, drainage or structural causes outside the lining are identified for separate action.

During Repair

See the repair work in progress

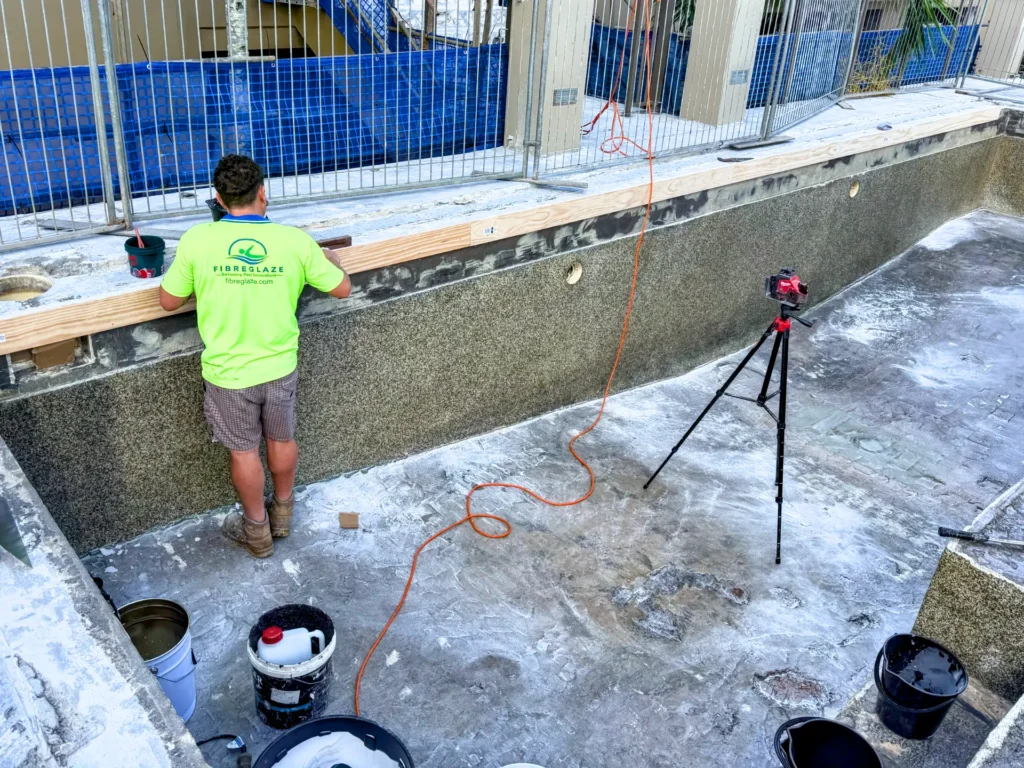
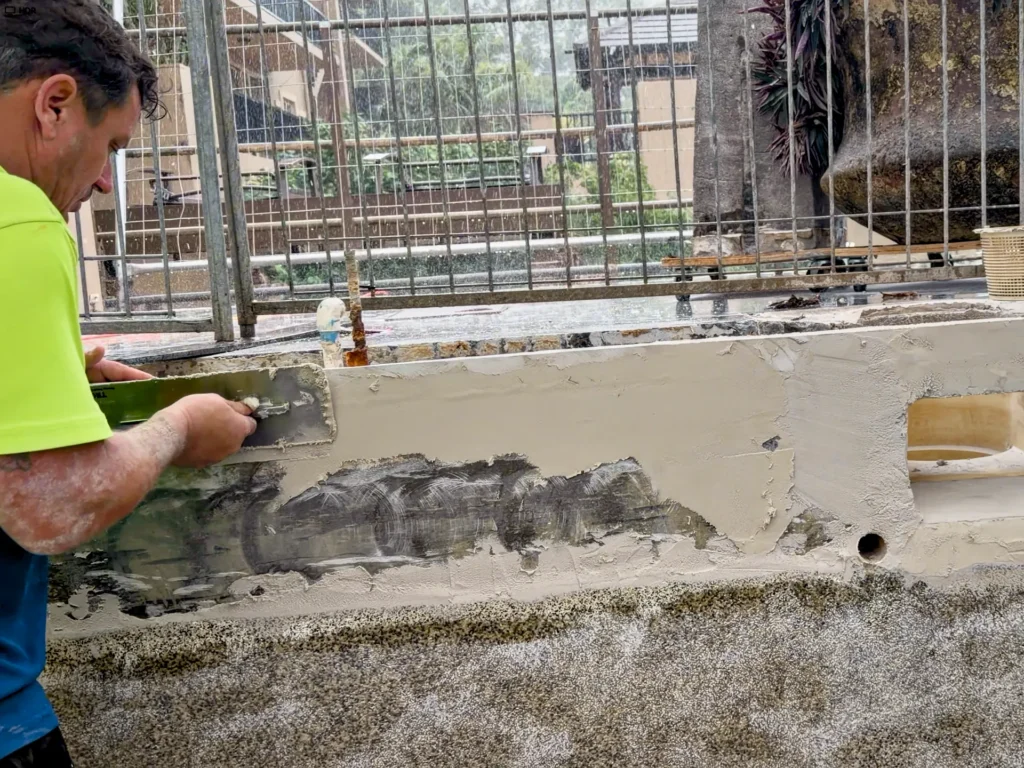
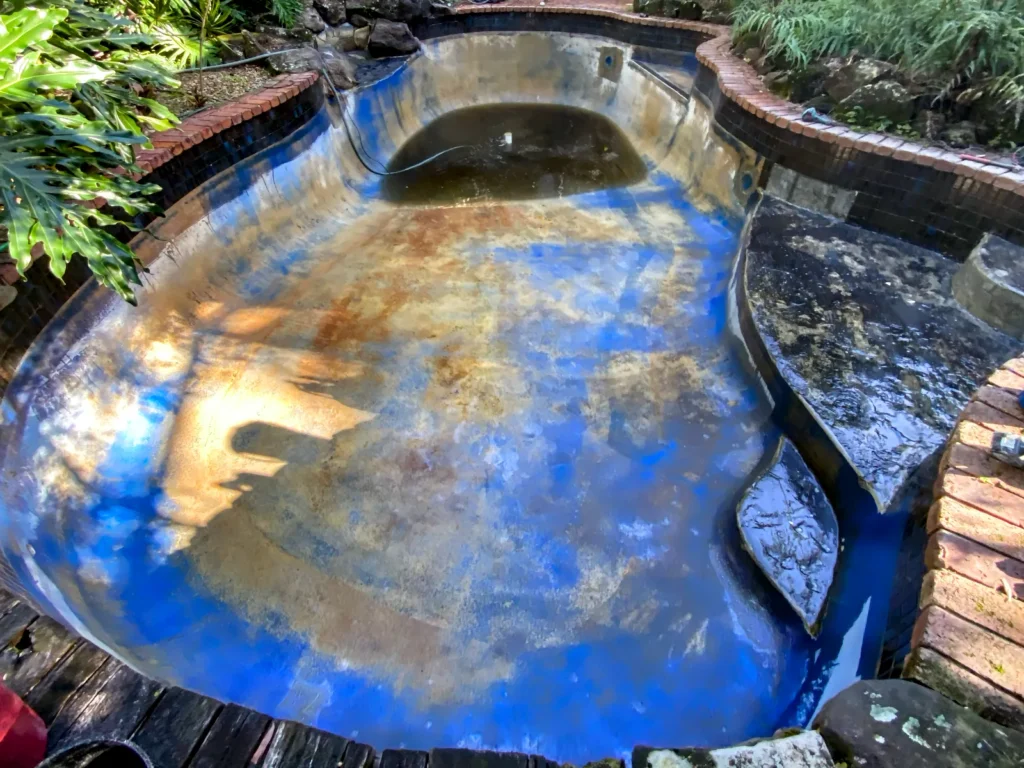
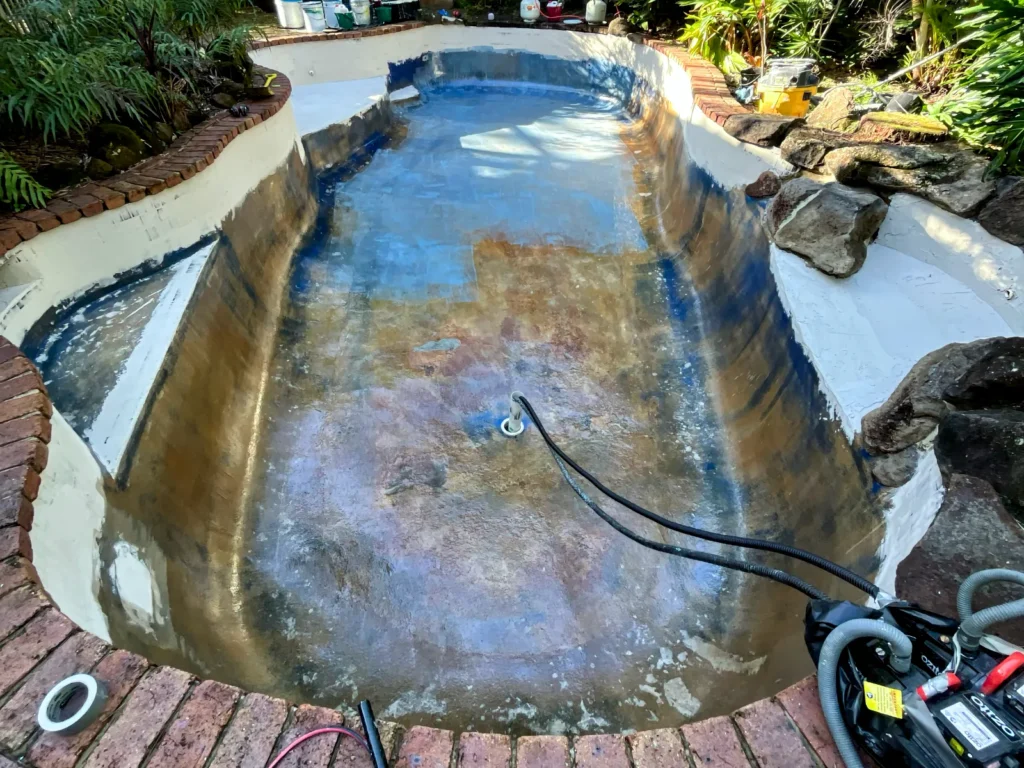
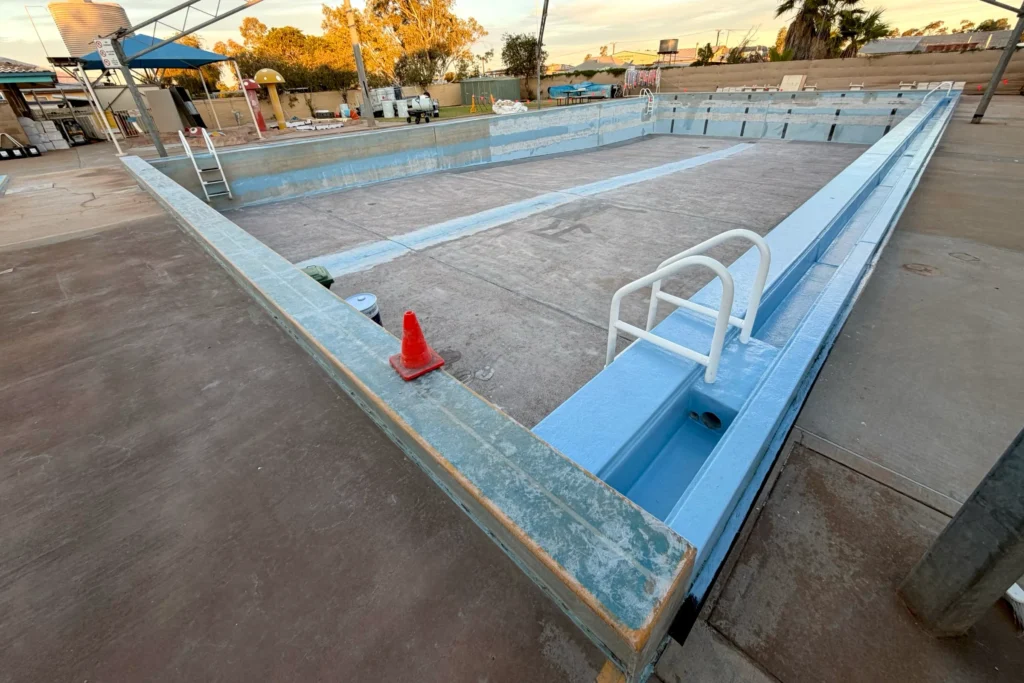
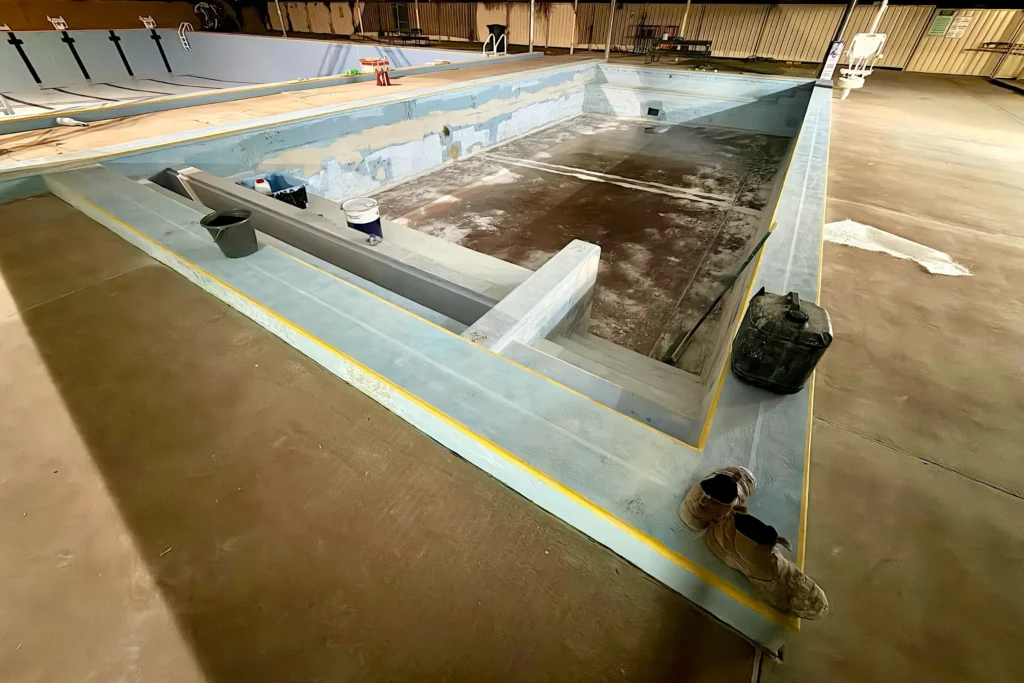
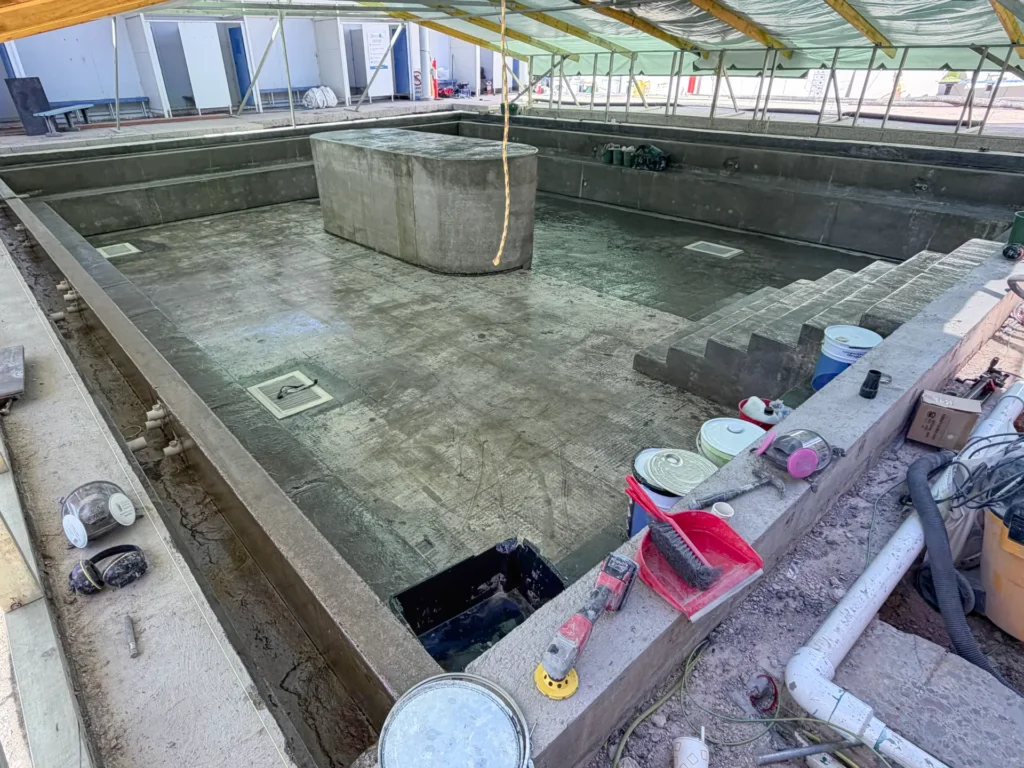
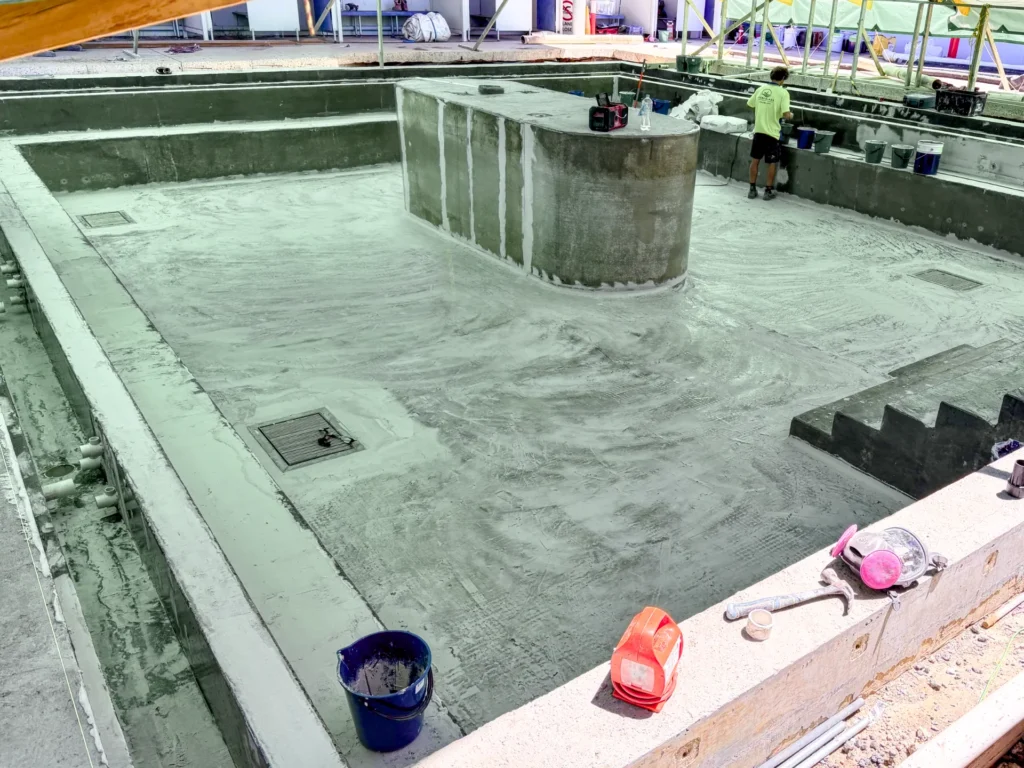
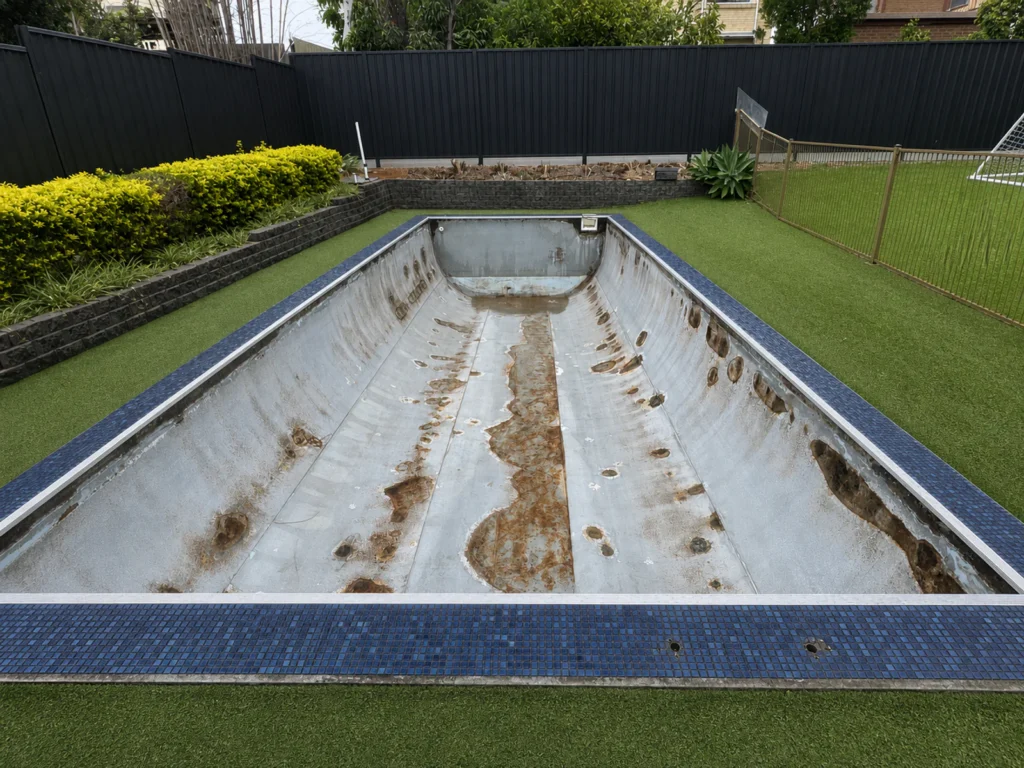
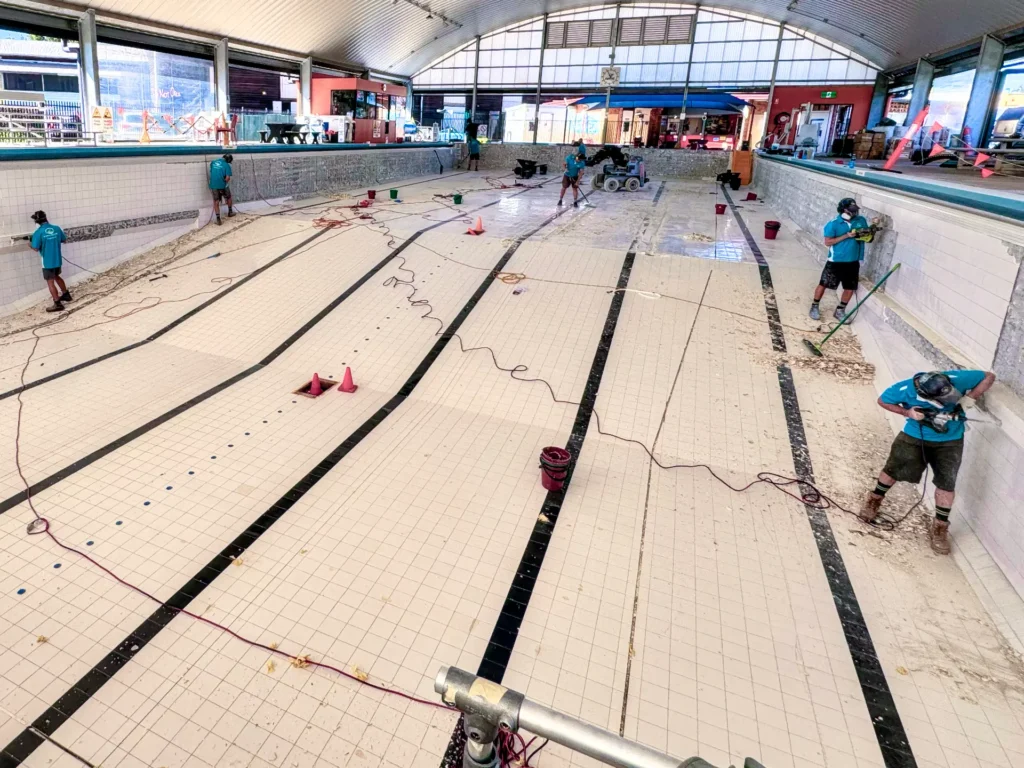
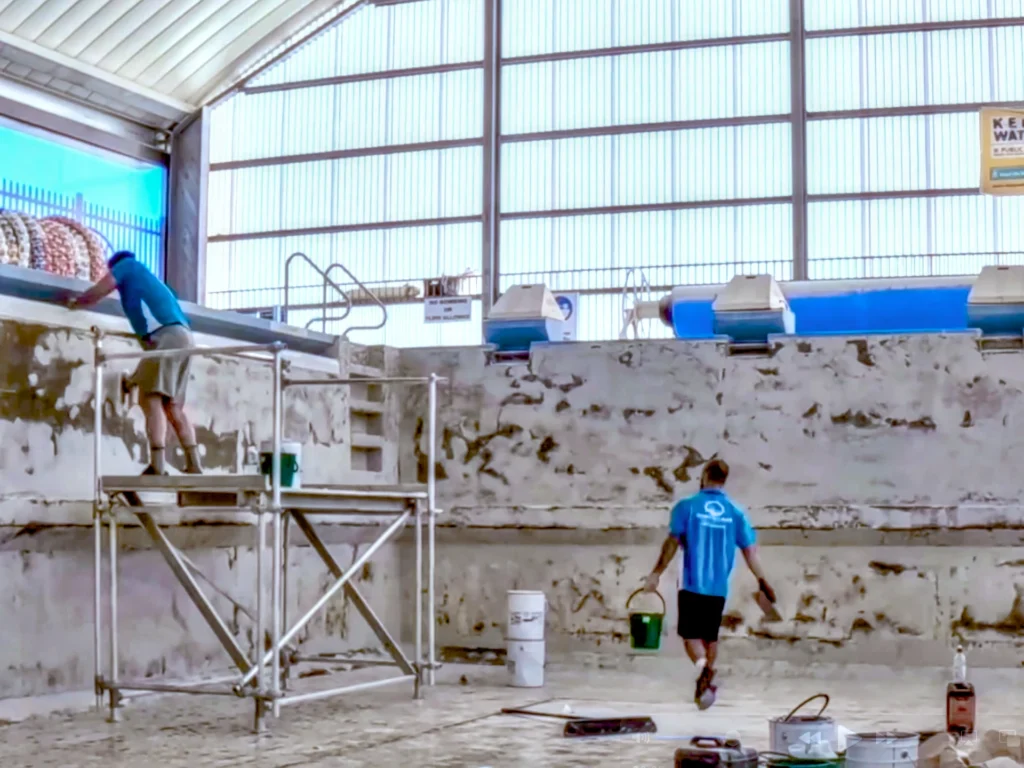
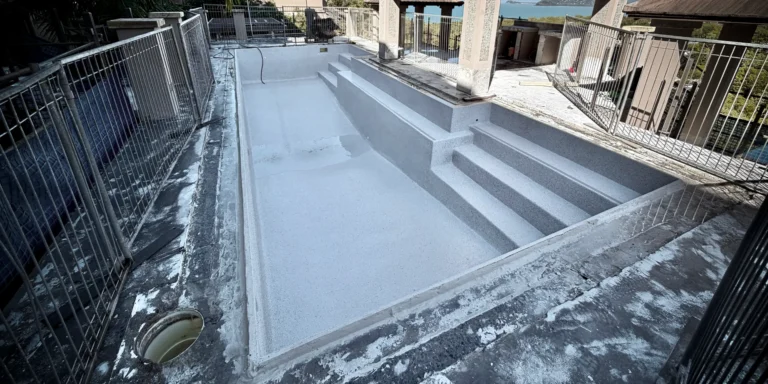
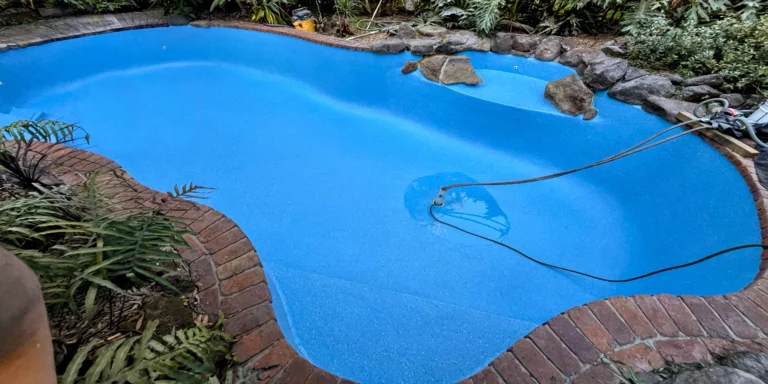
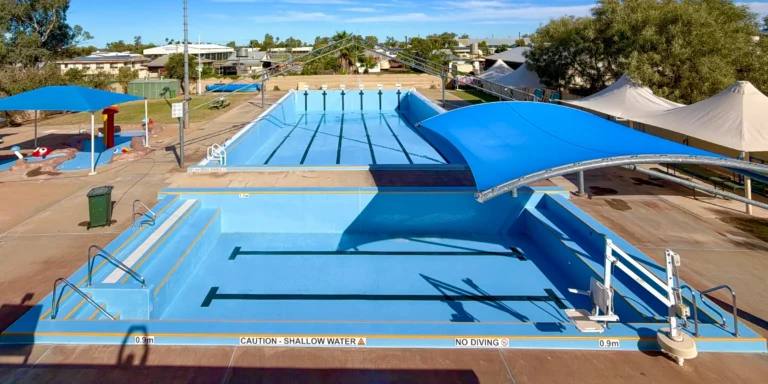
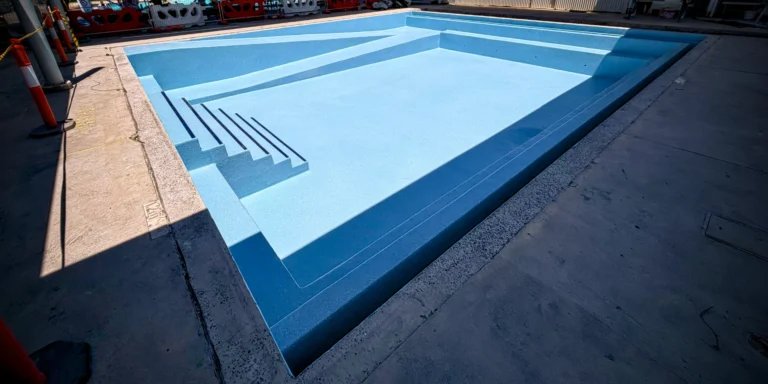
These photographs show preparation and repair stages from projects involving this pool problem. The exact approach is confirmed after inspection and once the pool has been emptied and the shell condition is exposed.

Our Repair Process

How we assess, repair and resurface the pool

Every pool is assessed individually, and the precise repair depends on the shell, substrate and site conditions. Where repair is suitable, the work generally follows five stages—from confirming the scope through to the reinforced lining, finish and handover.

1

Assess and plan

We review the reported water loss, pool details and photographs and arrange a site inspection where required. Fittings, penetrations, cracks, equipment and surrounding conditions are considered to isolate likely sources as far as practical. Once empty, accessible shell defects can be assessed and the repair scope confirmed.

2

Prepare the existing surface

Water loss is assessed against expected evaporation, with fittings, lights, tile lines, penetrations, cracks and equipment checked to isolate the likely source as far as practical. Once emptied, the shell is reassessed and confirmed or suspected leak zones are opened and prepared back to sound material.

3

Repair and level

Confirmed and suspected leak points are treated according to the defect type and location. Cracks, damaged penetrations, gaps around fittings and other affected areas are sealed, rebuilt or reinforced as required. Repaired sections are then levelled and integrated into the surrounding substrate before the complete lining is installed.

4

Install the reinforced lining

A reinforced fibreglass lining is applied across the prepared and repaired shell to form one continuous system. Additional reinforcement is incorporated around treated cracks, fittings and penetrations where required. The completed lining integrates shell-related leak repairs; plumbing or equipment faults are addressed separately where identified.

5

Finish and handover

Two UV-stabilised AquaGuard top coats are applied in the selected colour, followed by the chosen speckle finish. Once cured, the completed surface is inspected, applicable fittings are refitted and the hydrostatic valve is replaced where required. Guidance is then provided for refilling, initial water balancing and ongoing care.

REQUEST AN ASSESSMENT

Concerned your pool may be losing water?

Tell us how quickly the level falls, whether the loss changes when the pump runs and where you have noticed dampness, cracks or movement. Water loss can come from the shell, fittings, plumbing or normal evaporation, so the source should be tested before the repair scope is confirmed.

Approximate water loss and how long it has occurred
Whether loss changes with pump operation or stops at a fitting
Visible cracks, damp areas, repairs and any leak-test results
YOUR POOL

Tell us about the water loss

Pool leak assessment enquiry

Leaking Pool FAQs

How can I tell if my pool is leaking or just losing water through evaporation?

A 24-hour bucket test can compare pool water loss with normal evaporation. Fill a bucket with pool water, place it securely on a pool step and mark the water level inside the bucket and the pool level outside it. Keep normal circulation running, avoid swimming, backwashing and water features, then compare both levels after 24 hours. If the pool falls noticeably more than the water inside the bucket, a leak is likely. Repeat the test if it rains or the test conditions change.

Will resurfacing fix a leaking pool?

It depends on the source of the leak. If the leak is caused by cracks or deterioration in the pool shell, repairs will form part of the resurfacing work rectifying any associated leaks. Leaks from plumbing, fittings or other components need to be identified separately.

Why does my pool lose more water when the pump is running?

Water loss that increases while the pump is running often points towards the pressure side of the circulation system, such as return plumbing, equipment or a fitting that leaks more under operating pressure. It is a useful diagnostic clue, not a final diagnosis; water can also escape through a waste line or around equipment. Record whether the loss changes with the pump on and off, then have the circulation system and pool shell tested before assuming resurfacing will solve the problem.

If the water level stops dropping, does that show where the pool leak is?

A repeatable stopping level is a useful clue because the leak may be at a skimmer, light, return, joint or crack near that height. It is not proof: water can travel behind the finish or through surrounding ground before it becomes visible. Mark the level, note nearby fittings and avoid deliberately draining the pool further without advice, especially with a fibreglass shell or high groundwater. Professional testing may still be needed to separate shell, fitting and plumbing leaks.

Pool Types
Services & Finishes
Common Pool Problems
Commercial Pool Services
Projects & Resources
Need help with your pool?

Send us a few photos and our team can help identify the likely issue and the most suitable next step.

Servicing QLD and NSW