Deteriorated Pool Tiling

Deteriorated Pool Tiling

Loose tiles, eroded grout and cracked tiled areas can allow water behind the finish and create sharp or unstable surfaces. The tiling and substrate must be assessed before removal, repair or encapsulation is selected.
Degrading Tiles

What this pool problem can look like

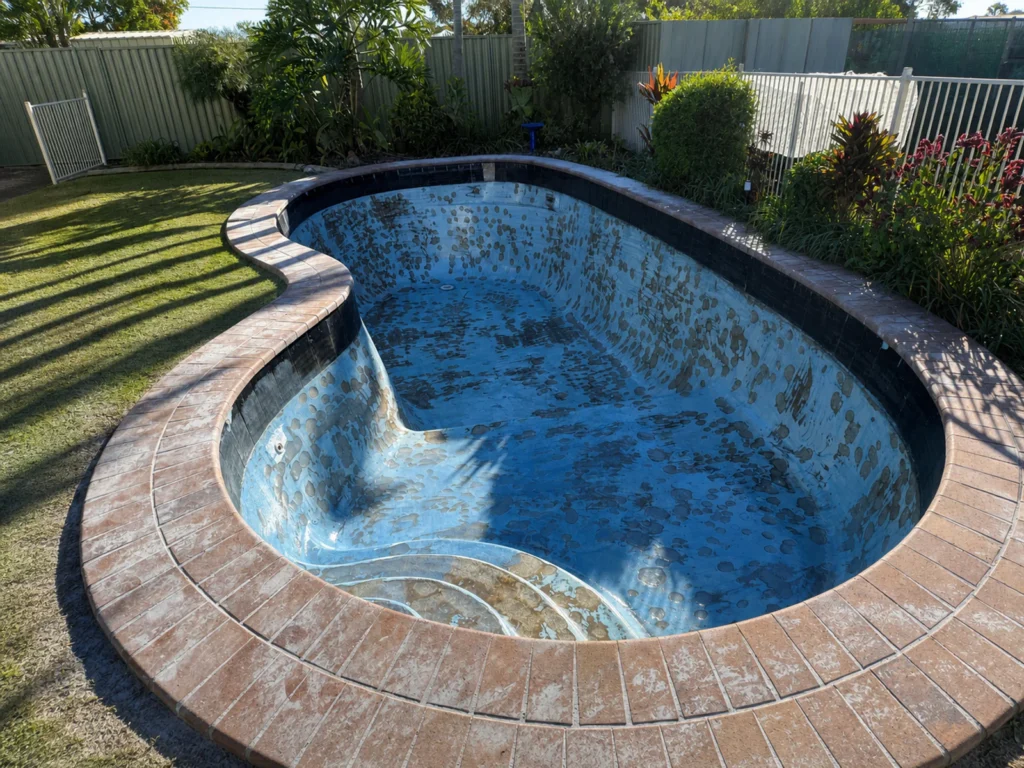
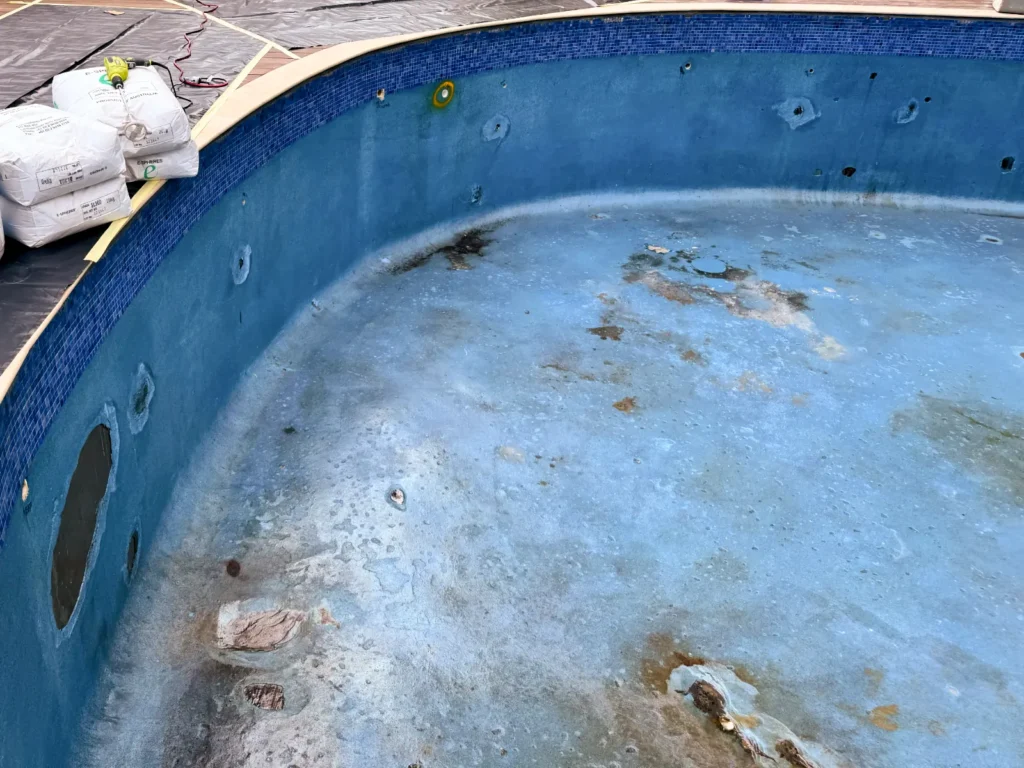
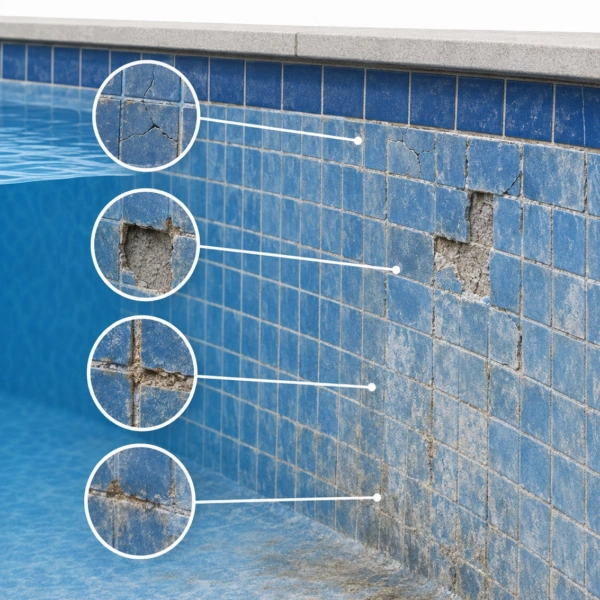
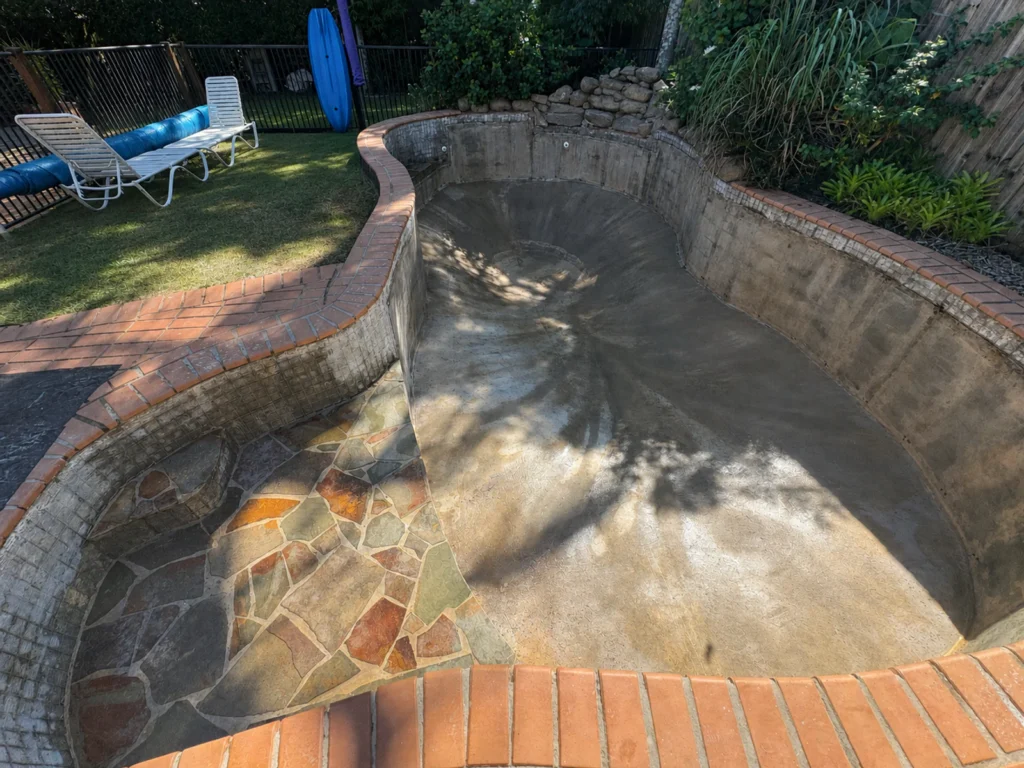
Deteriorated tiling can include missing mosaics, sharp broken edges, hollow-sounding areas, eroded grout, staining, movement cracks or water tracking behind the finish. Localised repairs suit sound surrounding work, but repeated patching is unreliable where bond failure is widespread.

Unsound material must be removed. In suitable cases, a firmly bonded tiled surface can be mechanically prepared and levelled as part of a fibreglass conversion. Movement joints, structural cracks and leaking penetrations require separate detailing rather than simply being covered.

What we assess

The extent and location of the visible problem

The condition of the surrounding pool surface

Likely causes and the most suitable repair approach

CAUSE AND REPAIR

Why this happens and what repair involves

Why does this happen?

Pool tiling can deteriorate through age, inadequate adhesive coverage, weak grout, water entering behind tiles, shell movement or poorly detailed joints and penetrations. Unbalanced water can erode cement-based grout and levelling materials, while high mineral levels create scale. Differential movement may crack tiles or break their bond.

A tile face can look sound even when the bond behind it has failed. Hollow or drummy tiles, recurring grout loss and cracking through a band or fully tiled surface indicate that the condition below the visible finish needs investigation.

Can this be repaired?

Fibreglaze surveys the tiled surface, identifies hollow and loose areas, and assesses cracks, joints and substrate. Failed tiles and grout are removed. Stable areas are mechanically prepared, while deeper losses and irregular profiles are rebuilt or resin-screeded to create a continuous base.

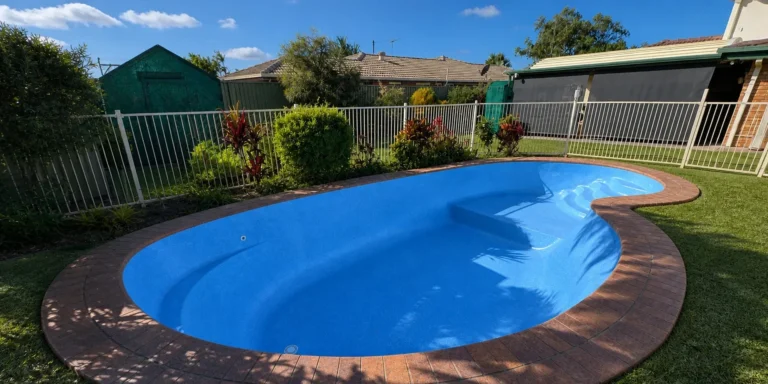
Once sound and level, the pool can be lined with the Enduratec fibreglass system. This replaces the vulnerable tiled interior with a smooth, seamless surface. A structural or designed movement joint that must remain active is resolved separately during assessment.

During Repair

See the repair work in progress

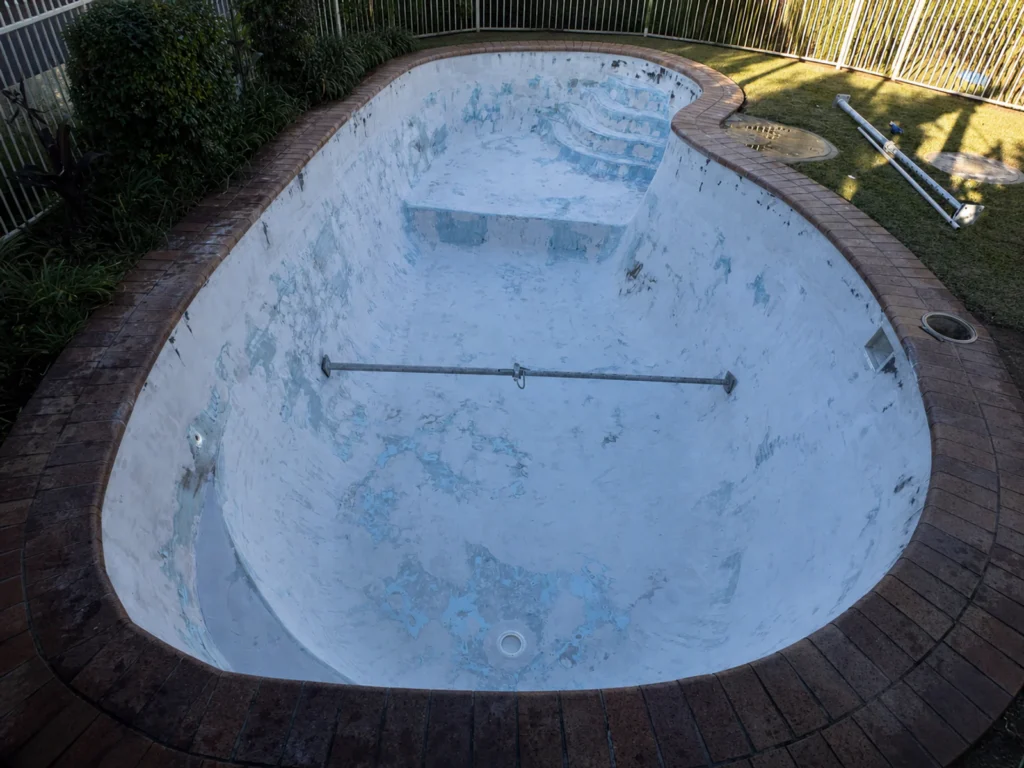
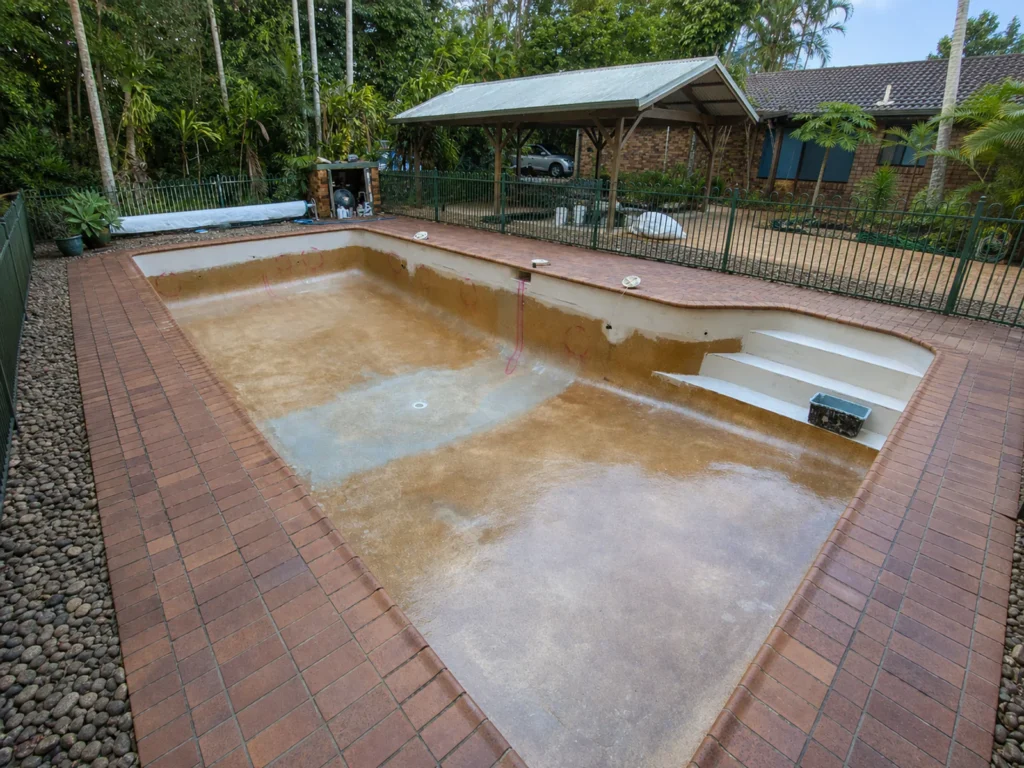
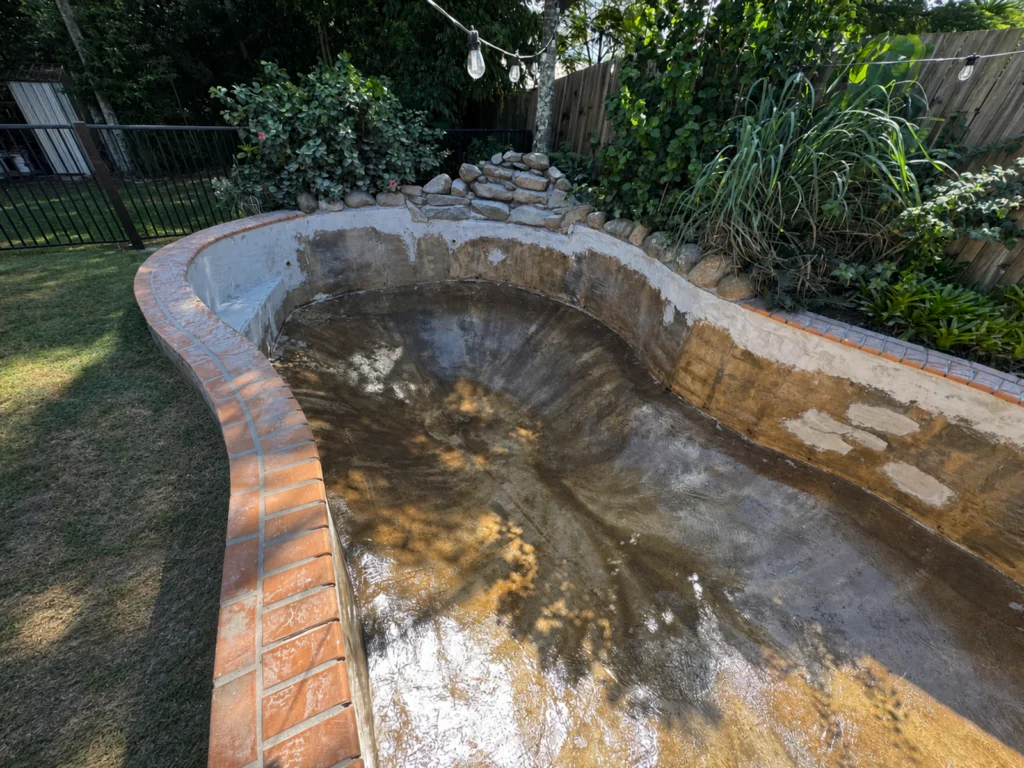
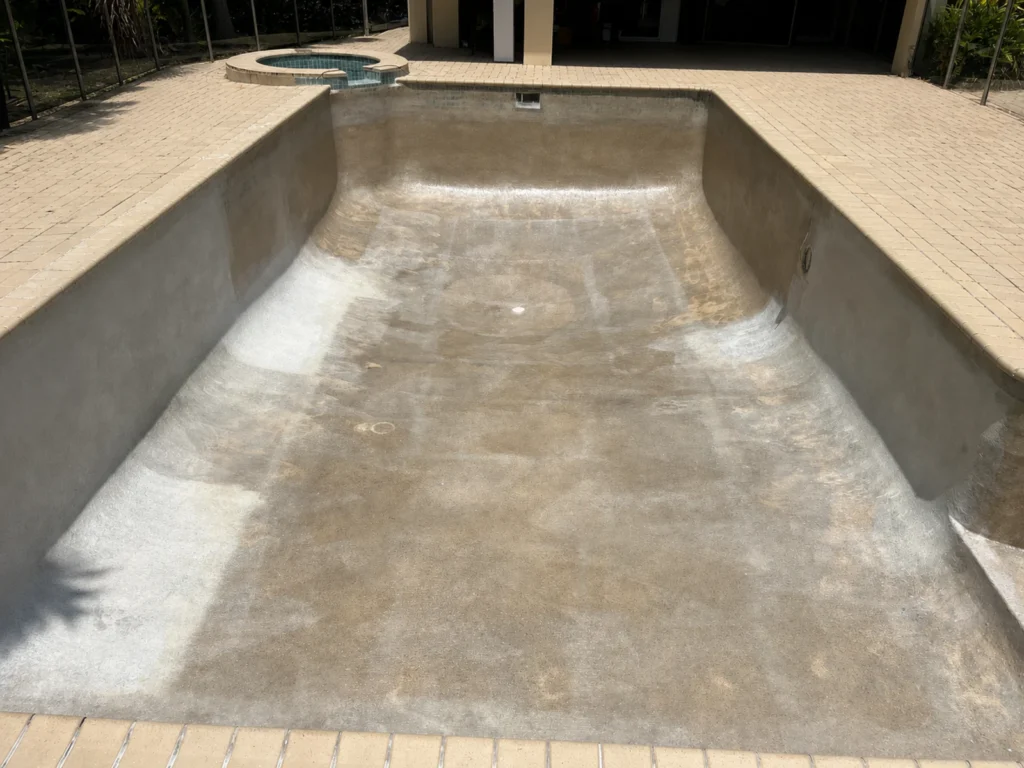
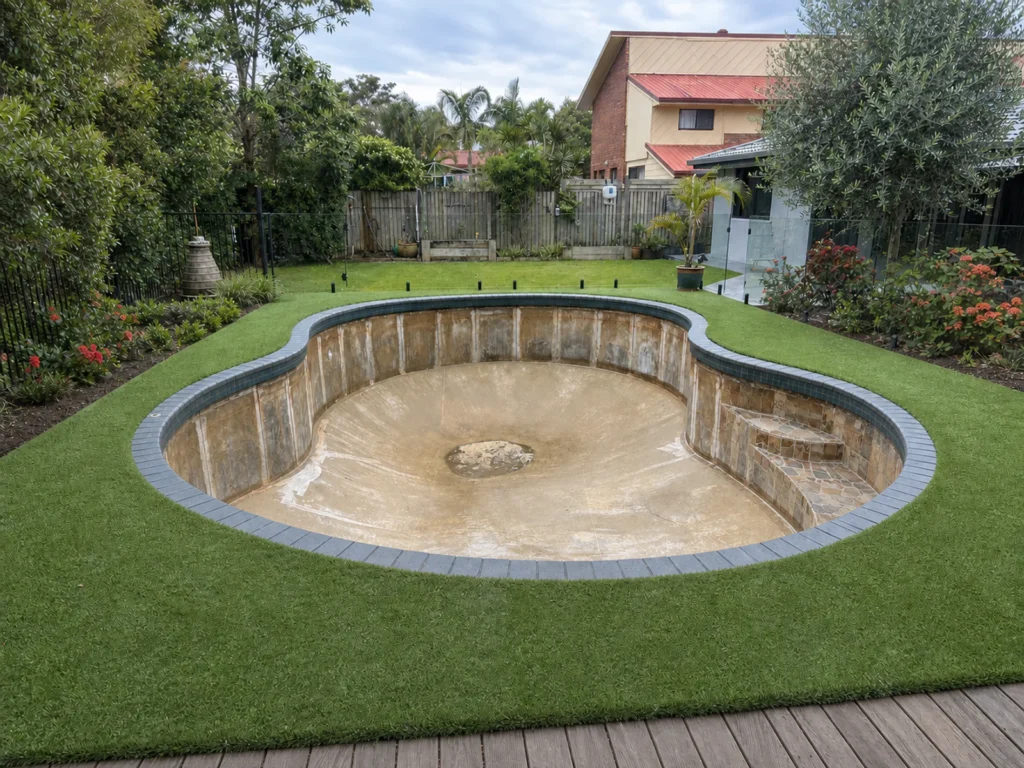
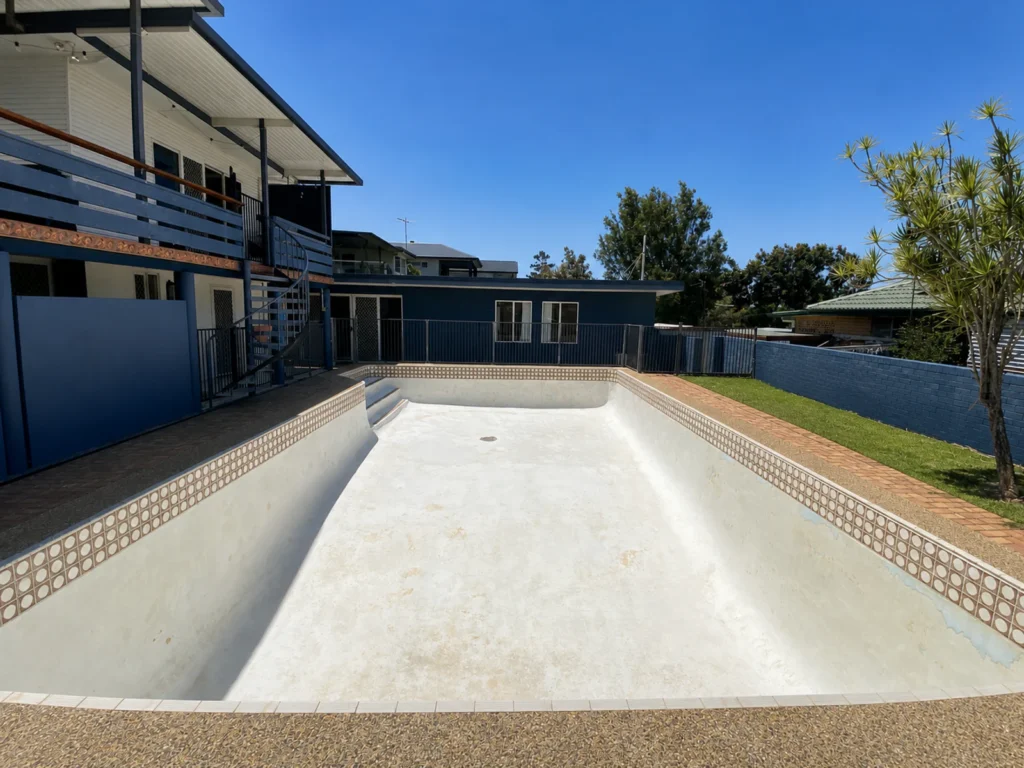
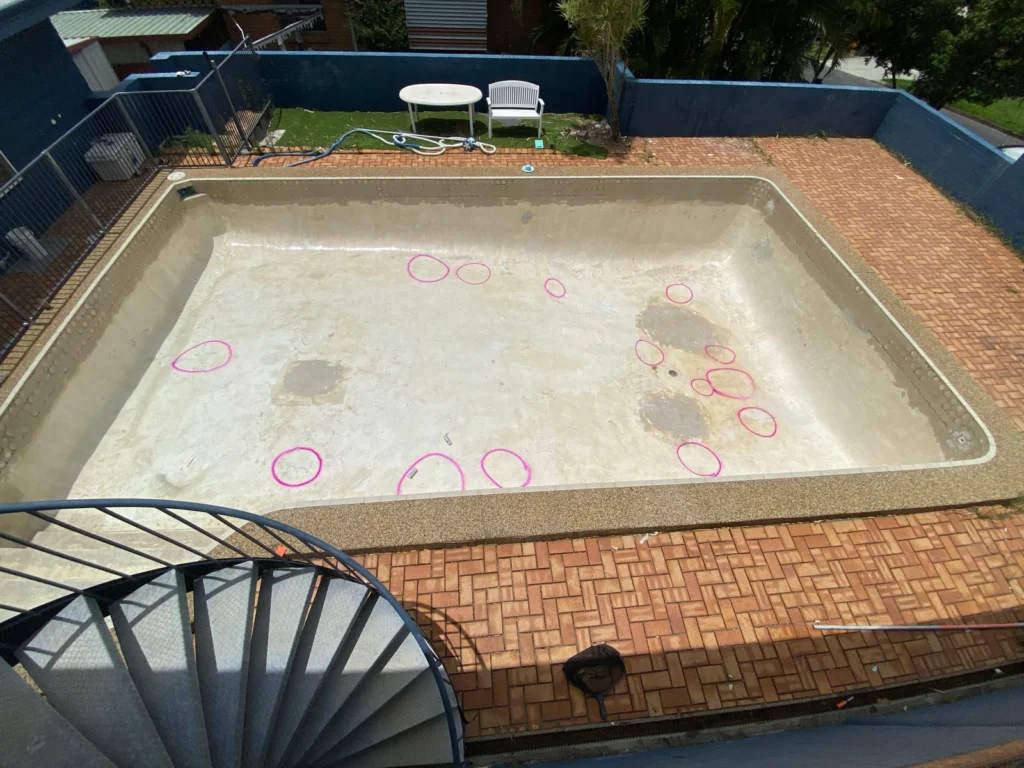
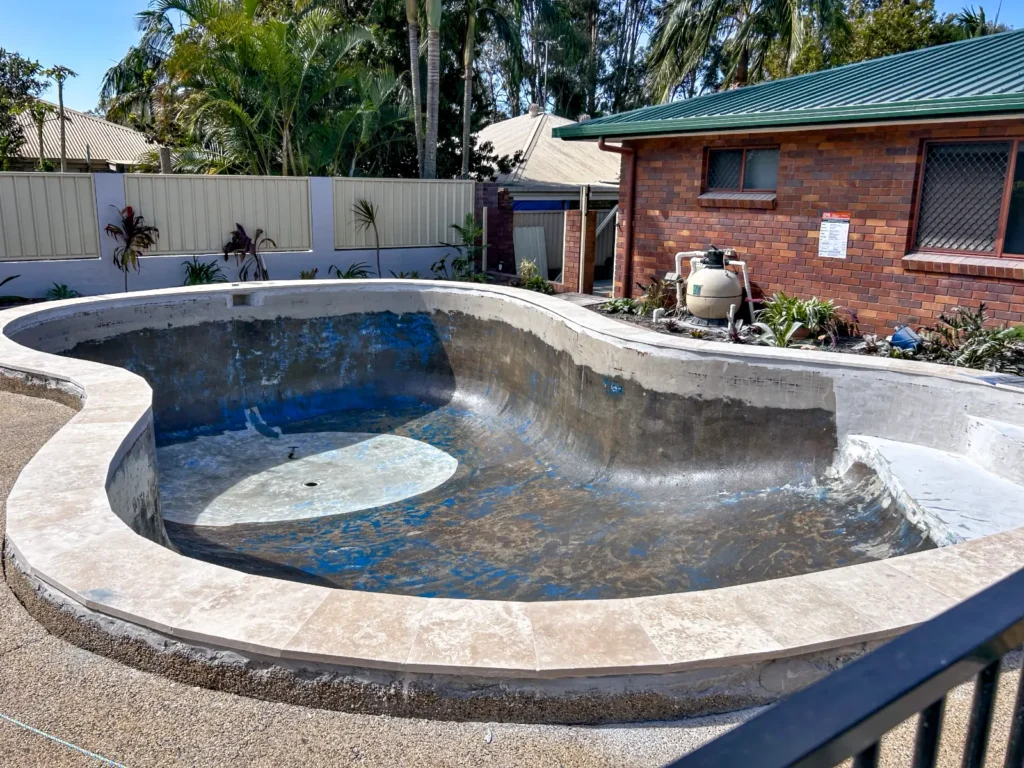
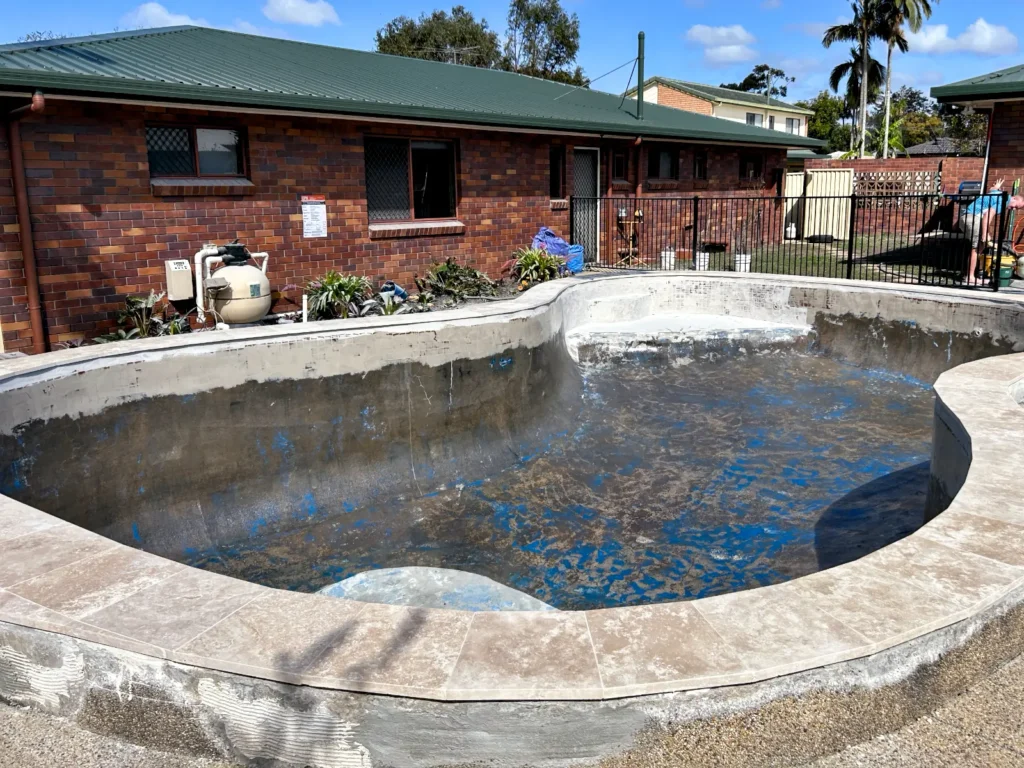
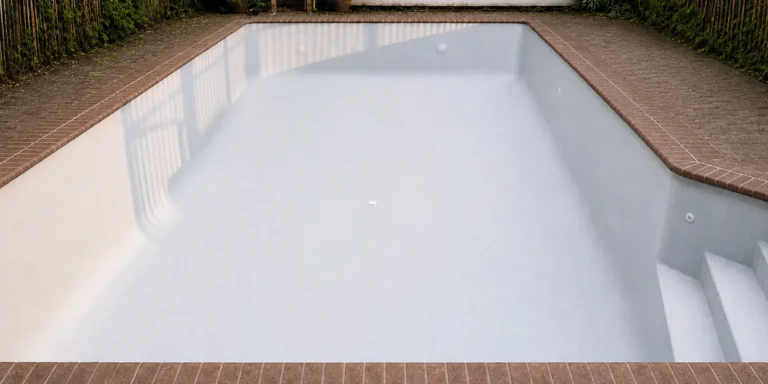
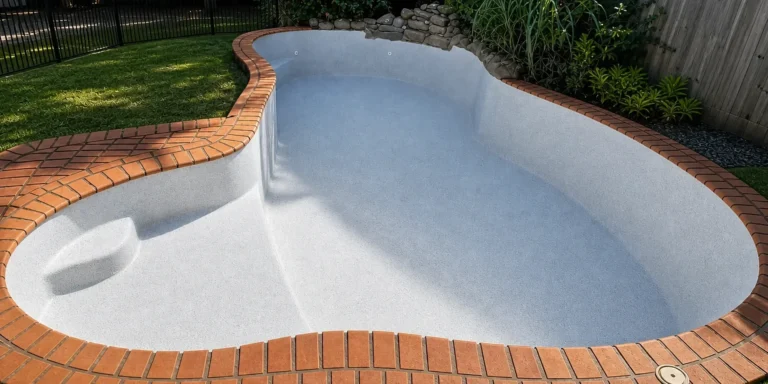
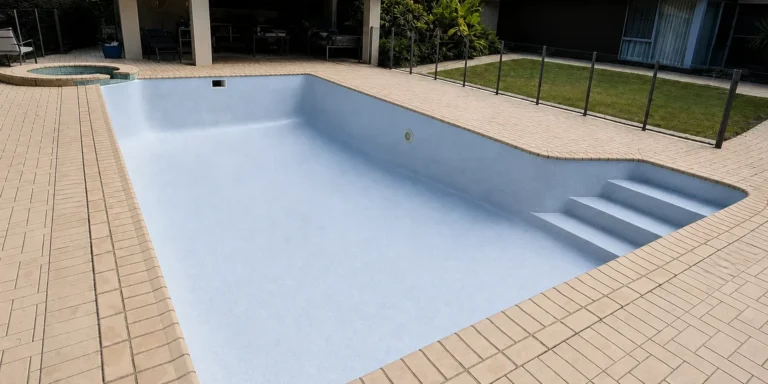
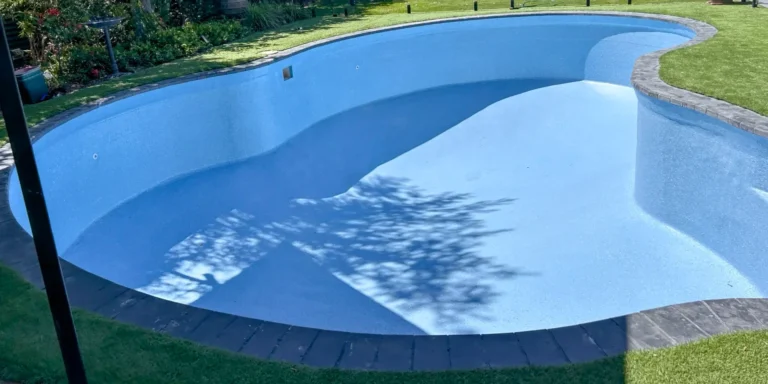
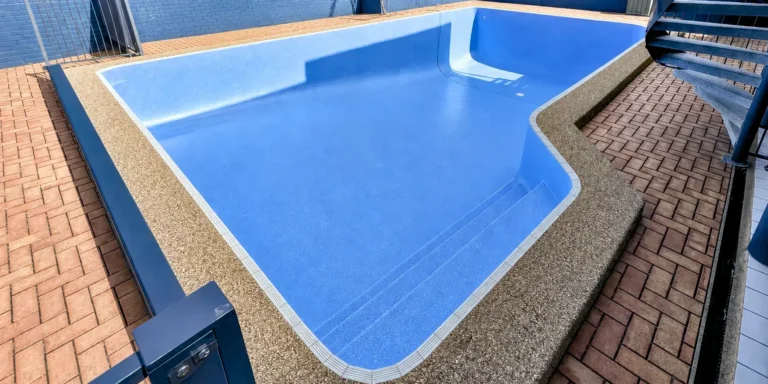
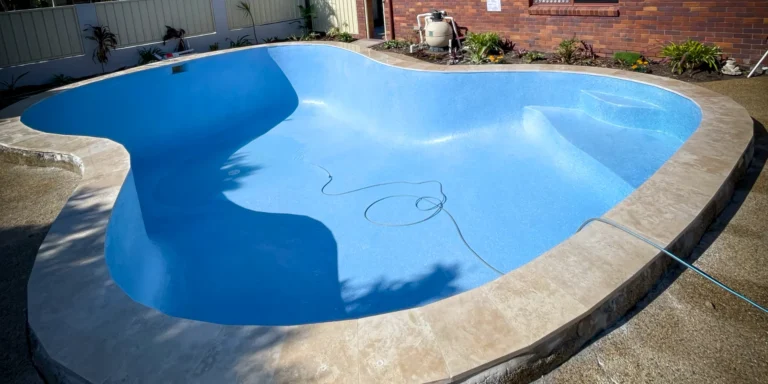
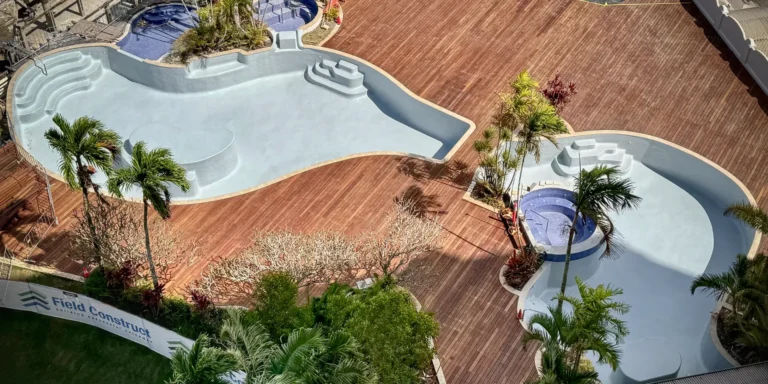
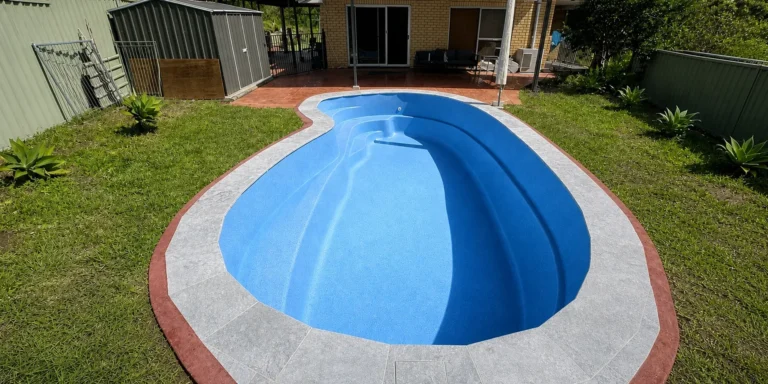
These photographs show preparation and repair stages from projects involving this pool problem. The exact approach is confirmed after inspection and once the pool has been emptied and the shell condition is exposed.

Our Repair Process

How we assess, repair and resurface the pool

Every pool is assessed individually, and the precise repair depends on the shell, substrate and site conditions. Where repair is suitable, the work generally follows five stages—from confirming the scope through to the reinforced lining, finish and handover.

1

Assess and plan

We review the pool details and photographs and arrange a site inspection where required. Tile and grout condition, cracks, movement joints and visible hollow or loose areas are assessed. Once the pool is empty, tap-testing can confirm which sections are sound and which require removal or repair.

2

Prepare the existing surface

Tiled areas are inspected and tap-tested to identify loose, hollow or poorly bonded sections. Unsound tiles, grout, adhesive and weak underlying material are removed, while suitable retained surfaces are cleaned and mechanically prepared. Joints, penetrations, cracks and transitions are then clearly defined for repair and relining.

3

Repair and level

Removed tile areas, grout lines and transitions between retained and exposed surfaces are repaired and levelled to create a continuous profile. Cracks and other substrate defects are treated according to their condition, providing a stable base for the complete reinforced fibreglass lining.

4

Install the reinforced lining

A reinforced fibreglass lining is applied across the treated tiled and exposed areas to form one continuous interior. Additional reinforcement is incorporated around repaired sections, grout lines, penetrations and transitions where required. The completed lining creates an even foundation for the selected AquaGuard finish.

5

Finish and handover

Two UV-stabilised AquaGuard top coats are applied in the selected colour, followed by the chosen speckle finish. Once cured, the completed surface is inspected, applicable fittings are refitted and the hydrostatic valve is replaced where required. Guidance is then provided for refilling, initial water balancing and ongoing care.

REQUEST AN ASSESSMENT

Concerned about loose or deteriorated pool tiles?

Tell us where tiles or grout are loose, cracked, missing or hollow-sounding, and whether water appears to be tracking behind the finish. The surrounding tile bond, substrate, joints and penetrations need assessment before removal, repair or conversion can be confirmed.

Location and extent of loose, missing or hollow tiles
Cracked grout, sharp edges, movement or suspected water ingress
Previous tile repairs plus overall and close-up photographs
YOUR POOL

Tell us about the pool tiling

Deteriorated pool tiling assessment enquiry

Deteriorated Pool Tiling FAQs

Why are my pool tiles falling off and the grout deteriorating?

Tiles and grout can deteriorate because of inadequate original bonding, poor preparation, water entering behind the finish, unsuitable grout, aggressive water chemistry, shell movement or missing movement allowance. A tile face may look sound even when the adhesive behind it has failed. Repeated grout loss, cracks and hollow-sounding areas suggest that more than the visible joint may be affected. The cause should be identified before tiles are reset so the same movement or moisture problem does not continue beneath the repair.

Can a few loose pool tiles be repaired without redoing the whole pool?

A local repair may be suitable when only a few tiles are loose and the surrounding tiles, grout, substrate and waterproofing remain sound. The failed tiles and old adhesive need to be removed back to a stable base before pool-suitable materials are used. If nearby tiles sound hollow, grout loss is widespread or cracks continue through the area, replacing isolated tiles is likely to be temporary. A broader inspection should establish the boundary of the bond failure before the repair scope is chosen.

Can a tiled pool be converted to fibreglass without removing every tile?

In suitable cases, firmly bonded tiles can be mechanically prepared and levelled as part of a fibreglass conversion. Loose, hollow or unstable tiles and grout must be removed, and deeper losses repaired, so the new lining is supported by a sound base. Structural cracks, leaking penetrations and movement joints need separate assessment rather than simply being covered. Whether partial retention is appropriate depends on a systematic bond survey of the tiled surface and the condition of the substrate beneath it.
Do the coping and waterline tiles need to be replaced when a pool is resurfaced?

Not automatically. Sound coping and waterline tiles can often remain while the pool interior is prepared and the new lining is detailed to meet them. Replacement may be recommended where tiles are loose, hollow, cracked or deteriorated, where the junction cannot be sealed reliably, or where the owner wants an appearance change. The bedding, grout and edge detail should be inspected so the quotation clearly states what will remain, what will be removed and how the new surface will finish at the pool edge.

Pool Types
Services & Finishes
Common Pool Problems
Commercial Pool Services
Projects & Resources
Need help with your pool?

Send us a few photos and our team can help identify the likely issue and the most suitable next step.

Servicing QLD and NSW