
Every project follows a structured five-stage pathway. The work within each stage is tailored to the pool construction and the condition revealed after emptying.
Photographs and an initial review help identify the pool type, visible problems, access and likely service route. Some conditions only become clear after the pool is emptied under planned conditions and the existing interior can be inspected properly.
Start with clear overall and close-up photographs.
We review the visible finish, symptoms, pool history, location, dimensions, access and what you would like to improve. Photographs usually help us identify the visible construction and direct the enquiry.
Do not empty the pool simply to identify it or investigate a problem.
Emptying is planned around the pool construction, groundwater, drainage, access and site conditions. The agreed start sequence removes avoidable risk and creates access for a closer inspection.
The final preparation and repair scope follows inspection of the exposed interior.
Bond failure, cracks, moisture, earlier repairs or concealed deterioration are mapped. Any material change to the anticipated scope is discussed before additional work proceeds.
Not sure what construction or finish you have? Send clear photographs of the whole pool, waterline, steps and fittings, plus close-ups of problem areas. We can usually identify the visible pool type and guide the next step, while concealed conditions remain subject to planned exposure and inspection.
The sequence is consistent, while preparation and repair change with the pool construction, existing finish and condition revealed after emptying. The five photographs below follow one real project through the broad stages.
We begin with the pool type, suburb, approximate size, visible condition, known leaks or repairs, photographs and access. Where required, a site inspection and available drawings help establish the construction, fittings and project constraints.
This supports a preliminary scope and programme. Once the pool is emptied under planned conditions, the exposed interior is inspected and the preparation and repair scope is confirmed before those works proceed.
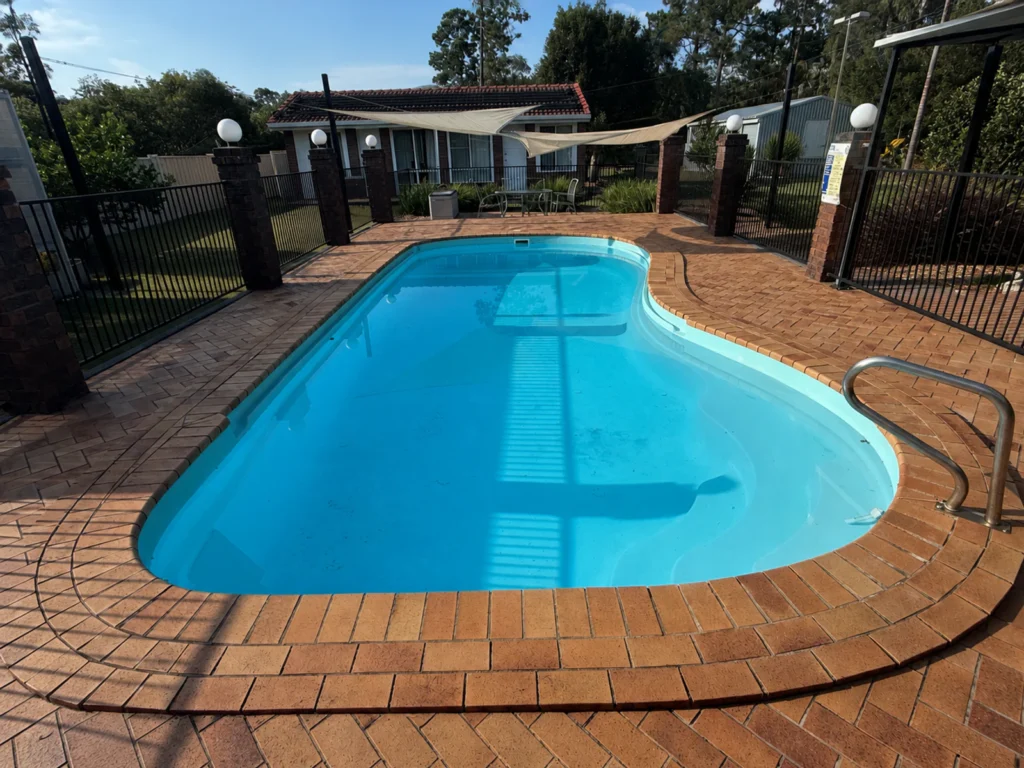
Loose, deteriorated, poorly bonded or otherwise unsuitable material is removed. The retained interior is cleaned and mechanically prepared using methods suited to the existing shell or surface.
This exposes concealed defects and creates a suitable base for the work that follows. A vinyl liner is removed in full for conversion; other firmly bonded material may sometimes remain where assessment confirms it can form part of a stable base.
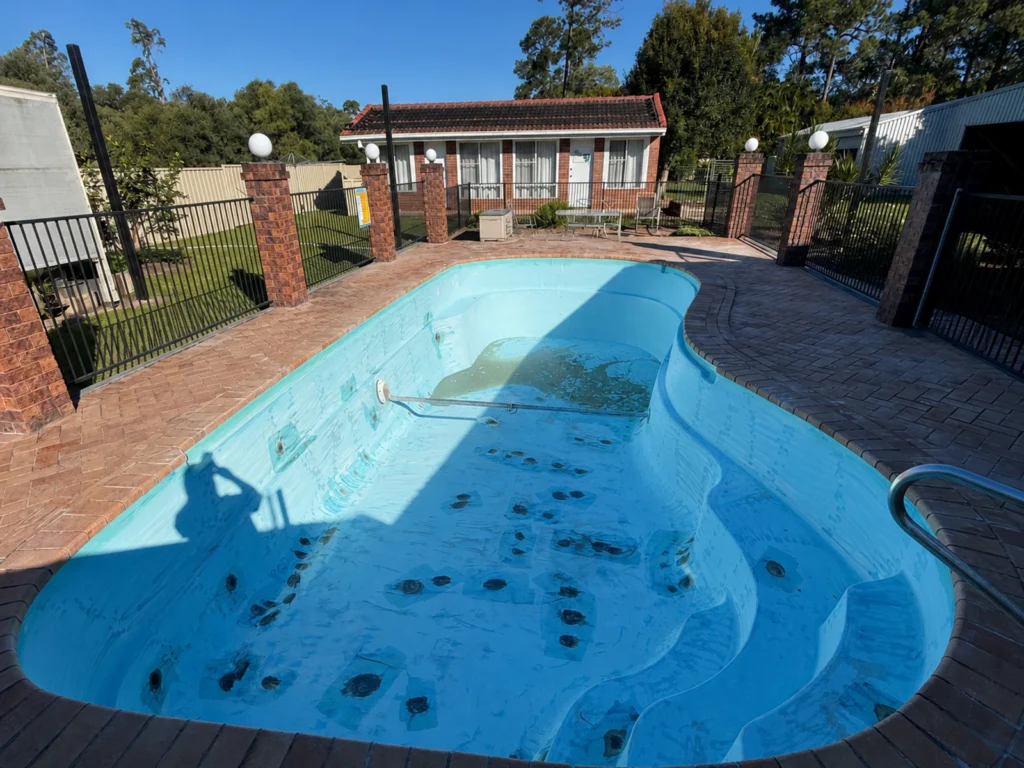
Cracks, blisters, hollow or delaminated areas, damaged laminate, corrosion, pitting, removed sections and uneven transitions are treated according to their type and extent. Not every project contains every condition.
Repairs are rebuilt and levelled to create a stable, consistent profile. Active movement, plumbing faults, groundwater, drainage or external structural causes may require separate investigation or work before resurfacing proceeds.
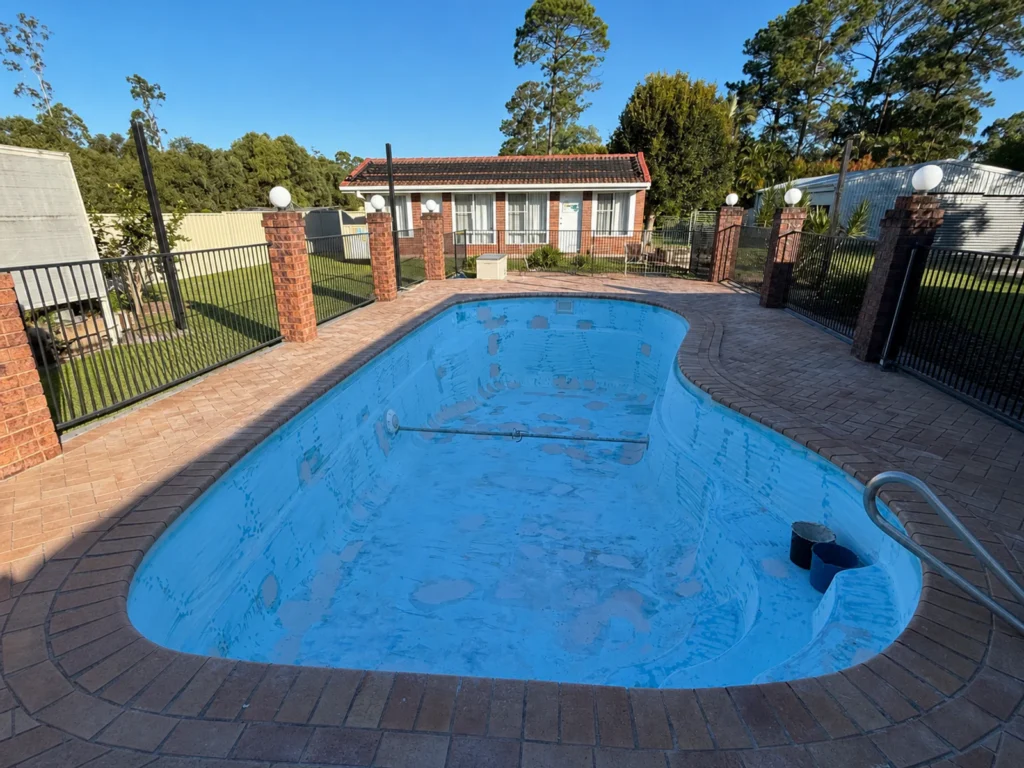
Compatible resin and fibreglass reinforcement are installed across the prepared interior to form one continuous reinforced lining. Additional local reinforcement is incorporated where the assessment and repairs require it.
Steps, fittings, penetrations and transitions are integrated where specified. The selected colour is still to come; this stage forms the reinforced interior beneath the visible finish.
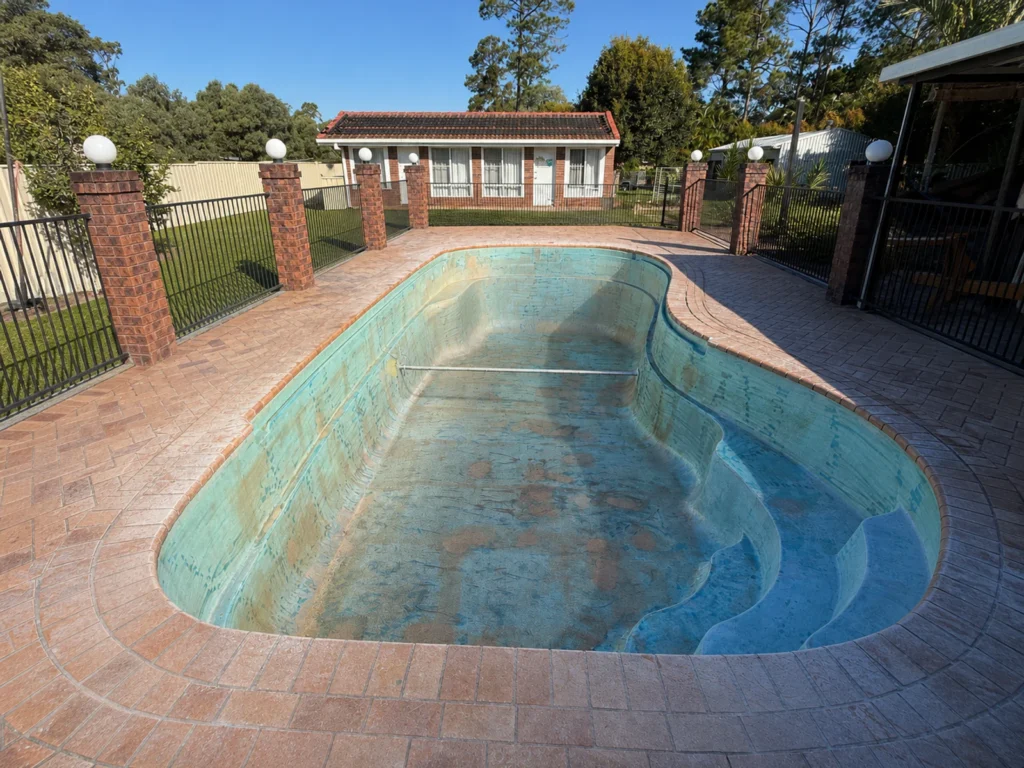
The selected AquaGuard colour and surface coats are applied after lining. Once the system has cured, the completed interior and detailed areas are inspected and applicable fittings are completed or refitted.
Fibreglaze provides the agreed guidance for refilling, initial water balancing and early care. Do not refill the pool until the team confirms it is ready; project responsibilities should be clear in the final scope.
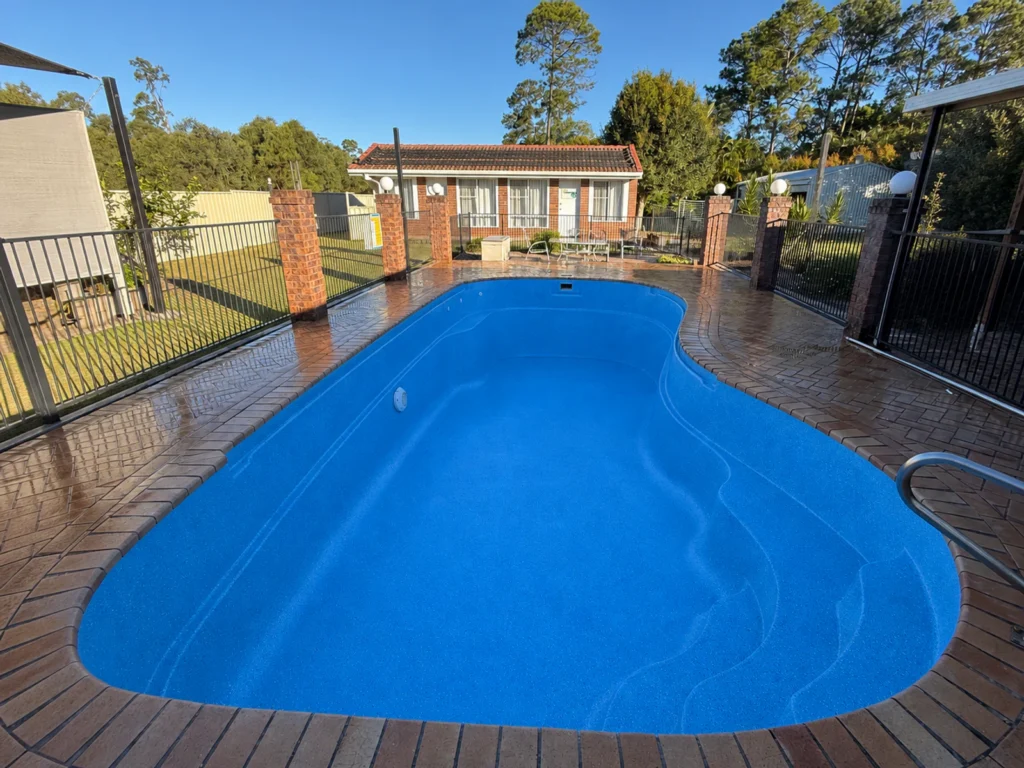
One pool, shown through all five stages. These images follow the published Ningi 04435 fibreglass-pool project. They illustrate the sequence, not a fixed specification for every pool.
The same five-stage sequence does not mean identical preparation. Use the route that matches the visible construction or finish; the linked page explains the starting-surface decisions and directs you to the relevant Services.
Moulded fibreglass shells and fibreglass linings over concrete can look similar, but the supporting construction and laminate condition change the preparation and repair work.
Pebblecrete, Marblesheen and tiles require a bond survey. Sound material may remain; loose, hollow, deteriorated or unsuitable areas are removed and rebuilt.
Paint and vinyl can conceal different substrates. Unsuitable coating is removed as required, while a vinyl liner is removed in full for conversion and inspection.
New concrete starts with construction readiness. Existing commercial pools add facility access, shutdown, markings, operating constraints and return-to-service planning.
Still not sure which route applies? Start with the main Pool Resurfacing guide or send photographs with your enquiry. A visible finish can often be identified before a site visit.
Draining, preparation, drying, repairs, lining, curing and refilling are separate parts of the project. Pool construction, size, access, condition, weather and what is exposed after emptying can all change the sequence and programme.
A project-specific programme is more useful than a generic duration. It should record assumptions, hold points and the conditions that could change the sequence.
Removal and preparation differ between fibreglass, masonry finishes, paint, vinyl liner and new concrete.
Moisture, bond failure, corrosion, cracks, osmosis, hollow areas or earlier repairs can add treatment and drying time.
Water disposal, access, adjacent works, weather, cure requirements and refill arrangements all affect timing.
The quotation should make the anticipated work and its assumptions visible, including how concealed or provisional conditions will be handled.
State what existing material is expected to remain, what is removed and how the retained substrate is prepared.
Identify anticipated repairs, exclusions and the process for agreeing work revealed after the pool is exposed.
Confirm the lining, selected finish, applicable fittings, clean-up, inspection and refill or water-balance guidance included.
Photographs and inspection support the initial scope, but they cannot confirm every concealed condition. If preparation reveals a material change, the finding and its effect on repairs, price or programme should be discussed. Plumbing, plant, groundwater, drainage or active movement outside the lining may require separate investigation or trades.
These answers explain the broad resurfacing process. Pool-specific preparation, repairs, timing and responsibilities are confirmed in the project scope.
Photographs often help identify the visible pool construction, finish and obvious problems, so they are strongly encouraged. They cannot confirm the bond or condition of concealed material. The final preparation and repair scope follows planned emptying and inspection of the exposed interior.
No—do not empty a pool solely to identify it or investigate a problem. Removing the water changes the support acting on the shell. Emptying should be planned around the pool construction, groundwater, drainage and site conditions.
No. Unsound, loose, contaminated or otherwise unsuitable material is removed as required. Firmly bonded material may sometimes remain after assessment and preparation. For a vinyl-to-fibreglass conversion, the flexible liner is removed in full so the supporting construction can be inspected.
The exposed condition is documented and compared with the anticipated scope. If a finding materially changes the repairs, programme or cost, it should be explained and agreed before additional work proceeds.
There is no reliable standard duration. Pool type, condition, access, drying, repairs, weather, curing and refill arrangements all affect the programme. Ask for a project-specific sequence and assumptions rather than relying on a generic number of days. Read the detailed timing answer.
Refilling begins only after the installed system has reached its required cure and Fibreglaze confirms the pool is ready. The project scope should identify the agreed responsibilities for water supply, initial water balancing, plant operation and early surface care.
Have a question about your own pool? Send the visible condition, known history and photographs. We can then identify the likely service route and what further information or inspection is required.
Tell us the pool type if you know it, approximate size, visible problems, known leaks or earlier repairs, access limitations and what you would like to improve.
Clear overall and close-up photographs help the first review. Do not drain the pool for the enquiry; concealed conditions and the final scope are confirmed later.

Pool resurfacing process enquiry
Send us a few photos and our team can help identify the likely issue and the most suitable next step.